Tuesday, January 31, 2012

Chopping Garlic and Onions

This past weekend, I hosted my parents and younger sister for the weekend while my sister was touring some colleges in the New England area. I was kindly asked to make a meal from my young blog and wanted to keep it a little fancy. I made my Polish Girl Chicken Parmesan and it was hit! It was a great meal to feed a fairly large crowd because it was easy to double and entertaining for people to watch in action!

Anyway, I am sure you don't care to hear about our whole weekend but I just wanted you to know why I have been somewhat off the radar this weekend (as a 9-5 working person, the weekends offer a great opportunity to cook more challenging meals).

In order to make up for that, I thought I'd offer you a couple of quick tips that took me a while to get right.

If there is one thing I hate, it is a big, face-puckering chunk of onion or garlic in an otherwise outstanding meal. Getting an onion or clove of garlic cut up finely enough to enhance a meal rather than take away from it can be fairly challenging for a new cook. So these aren't some great big best kept secrets, but just some beginner tools you might find helpful -- especially if you are going to try some of my dishes...I LOVE ONIONS AND GARLIC! And for both of these tasks, make sure you have a nice, sharp knife! This will really ease the entire process.

How to: evenly chop an onion
First, cut your onion in half, like so:

Lay each half flat side down. Parallel to your cutting board, cut the onion in half again (BUT DO NOT cut the whole way through)

Now make between 4 and 6 cuts (depending on the size of your onion) perpendicular to the cutting surface. Again, do NOT cut the whole way through. The top of your onion is going to serve as a grip during the cutting.

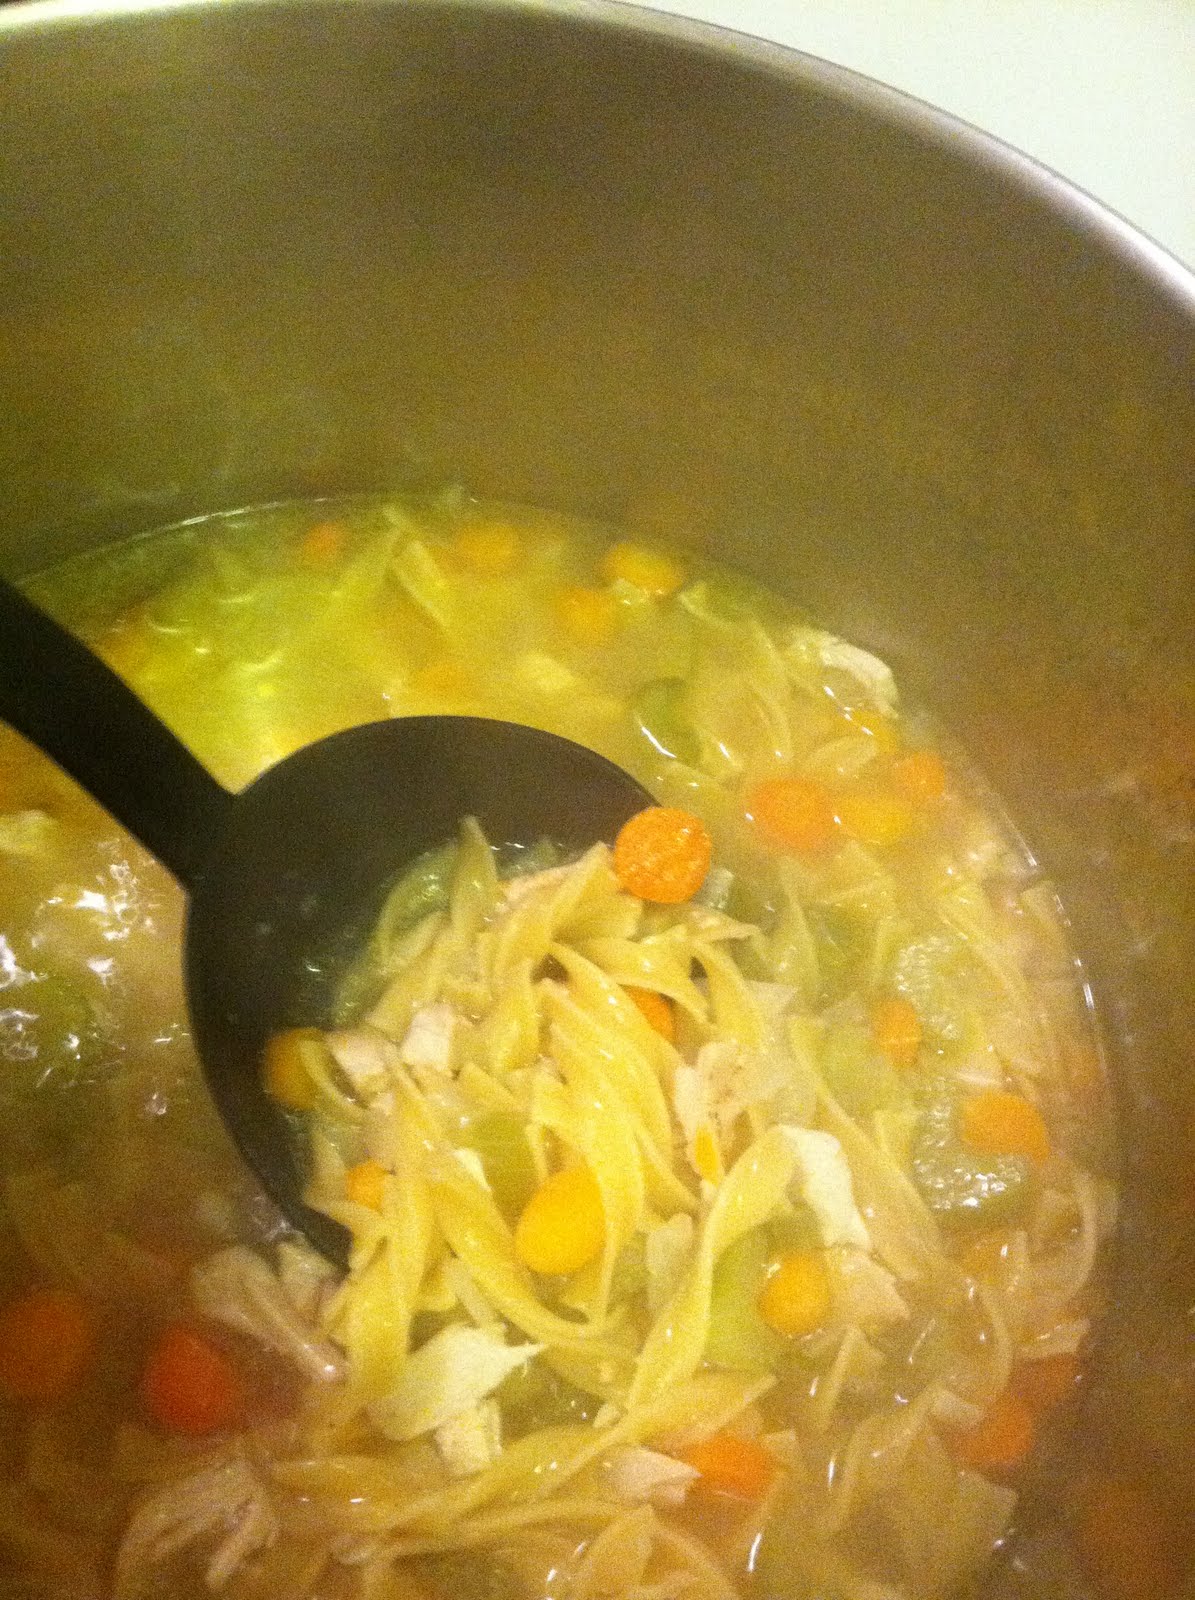
Make small slices in the opposite direction of the previous cut so that you have wonderful little nuggets of onion, perfect for sauteing, soups, slow cooker recipes, etc.

How to: Finely mince fresh garlic
Peel your garlic clove and place on a cutting board.

Lay your knife flat and gently pound the garlic to mush it down. Pound gently 4 or 5 times, putting a little muscle into it once you get comfortable with the feel of it.

Once your garlic is smashed, run your knife through it to create tiny cubes of garlic.

I really love fresh garlic because it is a little more flavorful than the minced stuff. It's also very cheap! So save a little bit of cash and do the mincing yourself!

Happy Cooking, Everyone!

Thursday, January 26, 2012

Traditional Chicken Noodle Soup, with a twist!

Chicken Noodle Soup. Classic, warm, and satisfying. I think that too many of us resort to the pre-made, microwave-in-two-minutes, canned soups; and with a simple recipe like Chicken Noodle Soup that can be that much more delicious when it's made at home, I challenge any beginner cook to ditch the cans and try this out!

When you think classic chicken noodle, here's (probably) what you are thinking:
Chicken Broth
Chicken
Egg Noodles
Carrots, Celery, and Onions

This is exactly what I thought too. And let me tell you, Boston. Is. Cold. The thought alone of classic chicken noodle soup warmed my soul, and I knew it was the next thing I wanted to try. I also LOVE making soups. They are generally simple to make, they go far, and you can very easily make an ordinary recipe extraordinary with your own personal touches.

With that, I'd like to share with you the first recipe I put together strictly on my own instincts: Lemon-Twisted Chicken Noodle Soup.

Here is what you need:
2 cans of chicken broth (about 3 cups)
3 carrots
3 celery stalks
1 medium onion
1 clove garlic
3 cups water
1 package Purdue Shortcuts (you may remember my love affair with these from my post on Chicken and Barley Chili...)
2 cups medium egg noodles
2 bay leaves
salt and pepper
1 medium lemon (THE TWIST)
Parmesan Cheese (because...why not?)

Here's what you do:
In a 6 quart pot, heat up about two tablespoons of olive oil or vegetable oil.
Add to the oil the garlic, onion, carrots, and celery all chopped and seasoned with salt and pepper. Zest your lemon over the vegetables. Stir and coat in the oil and zest, add the two bay leaves and cover over medium heat. Soften the veggies for about 5 to 7 minutes, stirring occasionally to avoid them sticking to the bottom.

Over high heat, add the water, chicken broth, salt and pepper. Stir occasionally while bringing the liquid to a boil.
When the water is boiling, add the egg noodles and juice the lemon into the soup. QUICK TIP! Avoid getting seeds in your soup by juicing the lemon cut side up and letting the juice flow over the side of the rind.
Simmer uncovered over medium heat, again stirring occasionally.
When the noodles are almost cooked through, add the chicken (shredded or chopped, however you prefer).
Stir and simmer for another 2 minutes to heat the chicken through.

Serve in a deep bowl and top with Parmesan cheese!

I absolutely love the lemon zest and juice in this soup. For a hearty meal, the citrus adds some lovely brightness on your tongue. You should really get that lemon essence in every bite of vegetable, which had been cooked down with the zest, and when you take big gulps of broth.

I also like the lemon because I made the decision to use low sodium broth so this makes up for any chicken flavor that may have been "compromised." The bay leaves, garlic, and lemon are really loving each other, too!

So, you see, this is really simple! It is also really flavorful and satisfying. I love doing broth based soups on work nights because I can get dinner on the table quickly. Give it a try and let me know how it goes.

Monday, January 23, 2012

I have no idea how to pronounce "Quinoa"

Quinoa...before this year, I had no idea what this little nugget was. I'd never heard of it and if someone mentioned the name, I'd assume it was something inedible. But now, all of a sudden, it is some hip food that everyone wants to get their hands on...or just know what the heck it is.

Basically, it is almost like a grain...it is the harvested seed of a type of flower. In the kitchen, it cooks similarly to rice or cous cous. I like to cook it in the rice cooker because there is literally nothing easier in the world (details to follow). It has a little more gusto than cous cous and is a filling, more nutritious alternative to white rice.

I found that a lot of quinoa recipes have paired this food with beans, corn, crispy vegetables and light vinaigrettes. I did my own version of these recipes using only that food which I had around the house that complimented the nutty richness of the quinoa. I also needed a light dinner after I "stress ate" at lunch and indulged in a Buffalo Chicken Calzone...

So here it is. My Warm Roasted Corn and Quinoa Salad!

Here's what you need:
1 cup quinoa
2 cups water
1 cup frozen broccoli florets
1 can whole kernel corn
1 small onion, CARAMELIZED! (or half of a larger onion)
1/2 cup of Parmesan cheese
Salt, Pepper, Dried Basil
1/2 cup of lemon juice

Here's what you do:
Get the quinoa and water in a rice cooker (or simmering over low heat in a medium pot). RICE COOKERS RULE!

On a small (lightly greased) sheet pan, spread out the can of corn and sprinkle with salt and pepper. Pop into a 375 degree oven for as long as the quinoa cooks or until it is crispy and a golden yellow color.
Go back a few posts on "Gas Stove Girl" and get your small onion caramelized (I found in this salad the darker the caramel, the BETTER)
Set aside your finished onions and put a small amount of water in the pan. Add the broccoli florets, season with salt and pepper, and cover over high heat. This will quickly steam the florets.

When the quinoa has absorbed all the water in the rice cooker, lightly fluff with a fork and transfer to a large mixing bowl.
Combine the onions, broccoli (if the florets are fairly large, cut up into smaller pieces), quinoa, roasted corn, cheese, and basil. Use a fork because you don't want to muddle up the quinoa -- fluffy quinoa is GOOD quinoa!
Drizzle just enough lemon juice (or some other light dressing) to cover and stir (once again, you just want the essence of flavor here. Don't drown your salad as it is flavorful enough!).
Serve and enjoy guilt free after a carbolicious lunch! :-)


So listen guys, this isn't glamorous and this simple salad does not make me the next great chef (though Food Network inquiries always welcome!). But sometimes, when you still want a flavorful dinner and need a lighter option that isn't just lettuce in a bowl, consider a quinoa salad! The cheese here makes it creamy and combined with the quinoa will leave you feeling full and satisfied.

How do you cook quinoa? Do you know how to pronounce the word?!

Tuesday, January 17, 2012

Quick Barley and Chicken Chili

It was a cold and rainy winter night in Boston. I needed something that would warm the heart and soul. Something that screamed COMFORT FOOD! Something that I could make after getting home from work at 6 that wouldn't require hours on the stove.....

It was a challenge I was willing to accept when I came upon a recipe on the back of my Quaker Quick Barley box. It's a Quick Barley and Chicken chili, and it promised slow cooker taste in 30 minutes! I went right to the super market and picked up the remaining ingredients I didn't have. I immediately got to work on dinner when I got home and let me tell you...this did NOT disappoint my cravings! Not only did it literally take 30 minutes, but I only had to use one pot and one spoon to prep the dinner! This is every working cook's dream.

So here's what you need for Chicken and Barley Chili, adapted from Quaker:
1 can diced tomatoes
1 jar of medium heat salsa
1 can low or no fat chicken broth
3 cups water
1 cup quick barley
1 tablespoon chili powder
1 package of Perdue Short Cuts oven roasted chicken bites
1 can whole kernel corn
1 can beans (optional)
Cheddar Cheese and Sour Cream on top

And here's what you do (be prepared...this is SO easy!!)
In your 6 quart soup pot, combine the diced tomatoes, salsa, chicken broth, water, barley, and seasonings. Stir and bring to a boil.

Let me quickly be honest about my seasonings and salsa. I did NOT use chili powder. Cory and I don't love spicy foods, so I decided to make it a little more flavorful by subbing the chili powder with some Lawry's seasoned salt and garlic powder (simply eye-balled and adjusted during cooking). However, in order to keep some of that true chili style, I decided on medium heat salsa. If you are using the spicy stuff, I'd maybe recommend mild salsa (unless you're a serious heat seeker, then ramp it up however you like!)
Ok. So your first ingredients are in the pot and boiling. Cover the pot and reduce heat to low. Simmer for 20 minutes, stirring occasionally.
In the meantime, grab your chicken. Now, if I may, these Purdue Short Cuts are God's gift to the working cook. Not only are they great on a salad or in a wrap, but any recipe that calls for the chicken to be cooked ahead of time BEGS for these bad boys. This chili was no exception. I didn't even need a knife. I took the pieces of chicken and just roughly ripped them apart. Many of them shredded a bit and this was just awesome! Season with salt and black pepper.
After 20 minutes of simmering, add in the corn, chicken, and beans if you please. Take a quick taste and adjust any seasonings. Stir and again bring to a boil.

Lower the heat and again cover and simmer for about 5 to 10 minutes. Once the barley is tender and the chili starts to thicken up, you are ready to eat!
Serve with shredded cheddar cheese and a small dollop of sour cream.

This was my first time trying this meal, and to be perfectly honest I cut out the recipe and added it to our recipe box. There is nothing fancy, homemade, or labor intensive about this chili. But on a cold work night, when I didn't want to spend hours in the kitchen and wanted that comforting meal -- this was perfect. Anyone can pull this off! You are really using the grocery store's help here and there is NOTHING wrong with that. Plus, it is a great change up that is a bit lighter and more nutritious! (That is, until the cheese...)

Thursday, January 12, 2012

Chicken Parm from a Polish Girl

Everyone who enjoys good, classic Italian food has had a delicious chicken parmigiana. Cheesy, saucey, breaded chicken over a nice bed of spaghetti -- true Italian comfort food at its finest.

Now, I am about 20% Italian by heritage. I also have a lot of Polish, German, and Scottish Welsh in me. The part of me that is Italian is considered the "cleaning Italian" or so my grandma says! That means that they have a few awesome recipes, but for the most part they are not big cooks. Instead, the house is just really clean. Like, all the time. And if you are the dirty granddaughter, you will be ridiculed!

Ok, so I'm exaggerating. But the moral of the story is that I never had a large repertoire of deliciously belly-busting Italian home-cooking recipes to indulge in when I just need some good comfort food. I usually only treated myself to such dishes when I went out to dinner in the North End, Boston's proverbial "Little Italy." And, I admit, I don't think my body could handle eating so lavishly every night.

But recently, I wanted it -- no NEEDED a plate of chicken parm. It was then just after Christmas, and Cory (the boyfriend!) showed me an awesome cookbook his sister got him as a gift. It is titled, "The $7 a Meal Cookbook," and as I was just flipping through to see what it had to offer, I stumbled upon the chicken section. Alas, a few pages in was a simple and lighter version of a traditional chicken parm! WHAT LUCK! I had to try it.

Now, I don't want to post the exact recipe for fear of copyright infringement. However, I did not really follow the recipe to the T all that much -- I made a lot of simple variations and eye-balled the amount of ingredients required. The important thing I took from this recipe was how to cook the chicken so that you have a crispy crust and a succulent meat.

Here's what you need:
Boneless, skinless chicken breasts (as many as you need for the party you are serving)
Seasoned Italian Breadcrumbs
Grated Parmesan Cheese
Part-skim Mozzarella Cheese
Black Pepper
Spaghetti
Tomato Sauce (I actually used a spinach tomato Florentine sauce we had left over and it was a nice touch!)

Here's what you do:
If your chicken breasts are a bit on the thick side, place them between two pieces of wax paper after dredging with flour and gently pound the meat. The recipe says about 1/3 of an inch thick but mine turned out to be a little thicker in some places and actually helped prevent drying out the bird!
Whisk up an egg in a separate bowl and coat the chicken.
Mix together bread crumbs, parmesan cheese, and pepper on a new piece of wax pepper. Coat the entire egg-bathed chicken pieces in a relatively generous amount of the breading.
Heat up a few tablespoons of vegetable oil in a skillet. Lightly brown each piece of chicken on both sides, but DO NOT cook the whole way through. You are probably talking about 2 to 3 minutes on each side for the first few pieces, and a minute to a minute and a half as the pan gets hotter. I'm talking about this level of golden brown:

Place the browned chicken cutlets into a greased baking dish.
Cover the chicken with a generous amount of your chosen tomato sauce and then top with the mozzarella cheese.
Pop this dish into a 350 degree oven and let it do it's thing for 20 minutes, or until the sauce is bubbly, the cheese melty, and the chicken cooked the whole way through.
While that is baking, boil up a pot of water and cook a box of spaghetti. I used whole wheat pasta to stick to the whole "a little lighter Italian cooking" theme.
Coat the pasta with any extra tomato sauce and serve the delicious chicken atop this.

As a Polish girl, I have to give myself a pat on the back. CHECK OUT THIS BEAUTY!


Now I will say, this doesn't have the gusto of those heavily breaded, crispy crunchy chicken parm plates you get at the restaurants. But, for a quick fix on that chicken parm craving, I think this will do just the trick! Give it a try!

How do you make chicken parm?! Would you make any variations to what you see here?

Wednesday, January 11, 2012

How to: Caramelize Onions

As I started cooking more, I came to realize the value of a good old onion. They can add so much flavor and are the base of so many good recipes (sauces, soups, stir fries...).

I first started being obsessed with onions when my mom caramelized them and had them at the table of our family barbecues. Those babies with some barbecue sauce on top of a char grilled burger made my mouth water. When I started cooking more, every time I made steak, all I could think about was how outrageously good caramelized onions would be dripping on top of a medium rare slab of meat.

BUT I COULD NEVER EVER DO IT. They either burned into oblivion or still had the harsh raw onion bite. I tried. And I tried again.

Finally...I MASTERED THEM.

I don't want to toot my own horn, but after tonight's onion experiment, I could have eaten just the onions on a plate and been wildly satisfied. Let me share my fool proof way of HOW TO CARAMELIZE ONIONS.

Here's what you will need:
2 tablespoons butter
1 onion (or whatever sort of leftover onions you have)
salt and pepper
honey

And here's what you do:
First, cut your onion in half then cut into about 1/4 or 1/2 inch thick slices.
Completely melt the 2 tablespoons of butter into a skillet over low to medium heat (I did this entire process on LOW heat because pans get hotter a LOT faster on gas ranges).
Add the onions and sprinkle with salt. Your pan should not make an intense sizzling sound when you add the onions. You should only barely hear an undertone of sizzle. This will allow the onions to sweat out their water content without sticking to the bottom of the pan.

Give the onions a gentle stir, about once every 2 minutes.
When the onions become more translucent and have a yellow hue, once again sprinkle with salt and a relatively generous amount of black pepper. Stir again.
Now! What I have come to regard as the secret to perfection (or, at least perfect caramelized onions). Drizzle, in a slow stream, a bit of honey over the onions. It should only be about as much honey as you would put in a cup of tea. Stir and evenly coat your beautiful onions with the honey and seasonings.
Continue to simmer until they are at the level of caramel goodness that you desire. Here are my heavenly bites of joy:


And that's it! It is a little timely because you are doing more of a slow cook. But these beautiful, delicious onions are well worth the wait! And in between, you have plenty of time to prep your meat and any other side dishes you are making that night! Good luck, and happy eating :-)

Monday, January 9, 2012

Saturday Date Night at Canary Square

This past Saturday, the boy surprised me and asked me to take a break from cooking for a date night. We just moved to Jamaica Plain a couple of months ago and haven't done too much exploring food-wise. We've hit a few breakfast spots, the infamous J.P. Licks for ice cream, and a sandwich place (post to come in the future on that one!). Just steps away from our place is this lovely spot called Canary Square. Their culinary vision, according to their website, is "the rustic yet refined neighborhood spot known for enjoying classic American cuisine with a creative culinary twist." They also totally embody the eco-friendly atmosphere that JP loves and use locally grown, fresh ingredients. So cool!

After this meal, I was certain that this was the right place to start my new food blog. Their menu is small and refined, but there is literally something for everyone! I decided on the Braised Pork Bourguignon (translation: Pork Burgundy). This dish was truly MOUTHWATERING. Allow me to go on...

Soft and airy mashed potatoes were topped with a generous helping of silky, fall-off-the-bone pork, chunks of bacon, tangy pearl onions and a thick brown sauce that I could have drank from a straw. A traditional Bourguignon, or at least Julia Child's recipe, has beef stock and a reduced full-body red wine with some kind of sauteed mushroom. I would guess the recipe at Canary Square was very similar. It was savory, heartwarming, delicious, and fulfilling.

Perhaps the best part about this little treasure in Jamaica Plain wasn't just the unreal food, but the prices for large entrees were unlike anything I have seen for the quality food my boyfriend and I had. I'd absolutely recommend making a stop at Canary Square if you are in the Jamaica Plain area -- but be ready to wait! People were lining up to score a table in the intimate dining room (which can accommodate couples, small parties, or parties 6-8 people large) so be ready to hang out as they do not accept reservations.

Oh, I almost forgot to mention that they have a long beer and wine list, and some super fun cocktails! Think: Basil Grape Mojito. YUP!

What's this about?

Welcome to my new blog, "Gas Stove Girl"! I have tried many times in the past to maintain a blog with a clear direction. Ultimately it turned into miniature rants I had about whatever was bothering me at the time. I learned that this type of online journal is not the way to get and retain followers of any kind. It also didn't provide me an opportunity to share experiences with others.

Cue "Gas Stove Girl," my amateur way of fulfilling my Food Network dreams. I love to cook! I have no formal training. More importantly, I LOVE EATING! My kitchen has one small swath of counter space, a microwave, a rice cooker, a George Foreman grill, and of course a GAS STOVE!

I have fun in the kitchen remaking family recipes, from my family and my boyfriend's. I pretend I am a pro and try my hand at some Food Network staples. I have a number of cookbooks I like to peruse. Some things work out well and some things go very wrong. These are my stories, my food experiences, my restaurant critiques, and my amateur cook tips.

Please check back every week for updates, reviews, recipes, and tips! I want you to start having as much fun in the kitchen and during meals as I have -- even if you aren't a five star chef.

Food is our common ground, a universal experience. - James Beard