Showing posts with label baking. Show all posts
Wednesday, August 29, 2018
Key Lime Cheesecake
We are making a cheesecake today!
This particular variety is, in fact, a Key Lime Cheesecake, and it is the perfect dessert to celebrate the end of summer.
Key Lime Cheesecake is exactly what it sounds like. It is a classic cheesecake, pumped up with the refreshing taste of lime juice and zest. A graham cracker crust is absolutely essential. And, also, this may or may not be a cheesecake with which I won an office bake-off (spoiler: it is!)
Now, look. I am no master baker. For a long time, cheesecake seemed like one of those dishes that you just leave up to the professionals. I first dipped my toes into the cheesecake world with a pumpkin cheesecake around Thanksgiving a couple of years ago and it went surprisingly well and was also insanely delicious. Fast forward to today, I am no longer totally petrified of cheesecake, thanks to a few key tricks I learned. For a smooth and creamy cheesecake that sets up perfectly, doesn't run all over the oven and doesn't crack down the center, always be sure to do the following:
- Bring ALL ingredients to room temperature, and make sure your cream cheese is very well softened (but not melted). Room temperature ingredients blend together so much better, and things are less likely to seize or congeal.
- If you are making a homemade crust, such as graham cracker, chocolate wafer or ginger snap crusts, be sure to pack it into the bottom of the pan VERY well. I like to use the bottom of a measuring cup. This ensures the crust goes out to and up the edges, and also has no cracks or holes.
- Do not over mix ingredients. Mix until smooth and thoroughly combined, but do not whip at high speed! Whipping the ingredients will introduce air bubbles into the batter, which burst in the oven and ultimately lead to the dreaded crack down the middle.
- After making the filling, tap the bowl on the countertop with some force about 30 times before pouring into the crust. The purpose of this is again to release any lingering air bubbles.
- Double line the outside of your springform pan with aluminum foil. You want to be absolutely sure that no filling will run out and no water from your water bath seeps in. The water bath should come up about halfway to the foil line.
All you need to do is follow these techniques, as well as being sure to follow any written measurements, for a truly irresistible cheesecake. This cheesecake is sooo creamy, yet is still light and refreshing from the citrus. The graham cracker crust is a perfectly sweet compliment to the tart lime juice. If you like whipped cream, feel free to garnish the top with a few squirt of whipped cream! I needed to make sure this particular cake traveled well, so I decorated it simply with a few extra graham cracker crumbs and a lime wedge!
The upcoming holiday weekend is the perfect time for a big baking adventure, and I think you are ready for cheesecake!! Let's get cooking.
Monday, August 28, 2017
Zucchini Bread
I know what they're saying. Summer is almost over. Back to school is in full swing. I ate pumpkin spice Cheerios with pumpkin spice coffee for breakfast. I had a pumpkin beer yesterday.
But this recipe cannot wait until next summer. There's still plenty of zucchini at the farmers market and grocery store. Even if it isn't the prettiest zucchini, it will still make an AMAZING loaf of Zucchini Bread.
This bread is so simple to make, but it is certain to impress. Loaded with zucchini, cinnamon and sweet vanilla extract, it's everything you could want whether it's for breakfast, a snack, or dessert. In my mind, zucchini bread is banana bread's far superior cousin. The zucchini is not nearly as heavy as banana, both in texture and in flavor, and thanks to the extra water in the summer squash this bread stays fresh and moist for days and days!
I can promise you that wherever you take this bread, everyone will be begging for the recipe! Might I recommend it for your Labor Day barbecues or to bring as a thank you for your next overnight host?
After making this bread many, many times, I have a few tips for you to make this as delicious as possible!
- This bread requires quite a bit of zucchini, so I find a food processor with the grater blade is the fastest and most efficient way to grate it.
- I have used the small grate and the large grate, and although the flavor is just wonderful either way, I prefer the texture of the finer grate.
- I like to make this in one big 10 inch/1.5 pound loaf pan. This requires a little extra cook time depending on your oven. Another alternative would be to cook this up in 2 smaller (8.5 inch) loaf pans instead. Be sure to check the done-ness about 10 minutes sooner to ensure the edges don't get overcooked.
- To remove as much excess moisture as possible, sprinkle the grated zucchini with a pinch of salt and allow it to sit for 5 minutes. Using 2 paper towels, press out as much water as possible and drain.
Friday, June 2, 2017
Key Lime Pie Doughnuts
IT'S NATIONAL DOUGHNUT DAY!!(!!!!!)
Have you had a doughnut yet today? Calories do NOT count today, so I say...
...treat yourself!
I have been thinking about these Key Lime Pie Doughnuts for a long time, and the final product is even more magical than I could have imagined. All the flavors of key lime pie, but in adorable, bite-size breakfast packages!
The cake itself is soft and tender, with a big crumb and irresistible sweetness. I start by rubbing lime zest into granulated sugar. This is great little baking trick that releases the oils in lime zest and distributes it throughout the whole cake. In addition to flour, I also whisk in graham cracker crumbs. A big, buttery graham cracker crust is THE most important part of a key lime pie, so I knew it had to be incorporated into these doughnuts. Vanilla yogurt will not only keep our doughnuts moist, but it will also add a tangy sweetness that compliments the tart lime flavor. I mean...what is not to love?
OH right, I almost forgot. All good doughnuts MUST have a glaze. For these, a thick and zesty lime glaze, packed with fresh lime zest and a big squeeze of lime juice, topped with even more crunchy graham cracker crumbs! Yay!
These doughnuts are just so delicious and I am sure you will love them! They are fresh and tangy, sweet and tender. Perfect for breakfast, of course, but also amazing as a snack or dessert! They are ooey and gooey, exactly as a good doughnut should be.
Happy Friday! And more importantly, Happy National Doughnut Day!
Sunday, September 25, 2016
Pretzel Bagels
Well my friends, we've done it.
We've combined two of the best bread products into one. It is as miraculous as you'd expect. It is also much easier than you might think, and that is pretty great too!
Pretzel Bagels. I don't know if there is much more to say (...that won't stop me from gushing about these beauties, of course). Deep, golden brown crusts with a sprinkle of pretzel salt, soft and chewy centers. The taste of soft pretzels in a bagel suit. Ugh, yes. This is what dreams are made of.
In order to make this breakfast dream a reality, there are a few key things we need. First, for the bagel part of it all: yeast, flour, and patience. Yeast will get activated in a bit of warm water with some sugar. This will bring our bagels to life, allowing them to puff up in a hot oven. Although bread flour is more commonly used in bagels because of its higher protein content, all-purpose flour is perfect for our needs in this recipe. It will create a crumb that is a little softer than a classic bagel and more reminiscent of a traditional soft pretzel. The dough won't be as lofty, but that's OK.
For the pretzel parts, we need a good bit of baking soda, an egg wash and pretzel salt. The bagels will take a quick dip in a pot of boiling water combined with baking soda. The baking soda changes the pH of the water and helps speed up the cooking process, creating that deep brown color on the outside of the pretzel bagels. The egg wash will create a sheen on the outside, and also act as the glue that keeps that irresistible salt on top. It's science!
So now that we know we can in fact make pretzel bagels, what on earth should we do with them? Here are a few ideas:
--Eat them warm, straight, right out of the oven
--Cut 'em in half and smear a bit of cream cheese all over, with a sprinkle of garlic and chives for good measure
--Make a breakfast sandwich, heavy on the cheese
--Whip up a batch of tuna salad and pile it high
The options are endless, but the good thing is, there ARE options. Lots of 'em. No matter how to slice it, they're sure to impress
Sunday, December 14, 2014
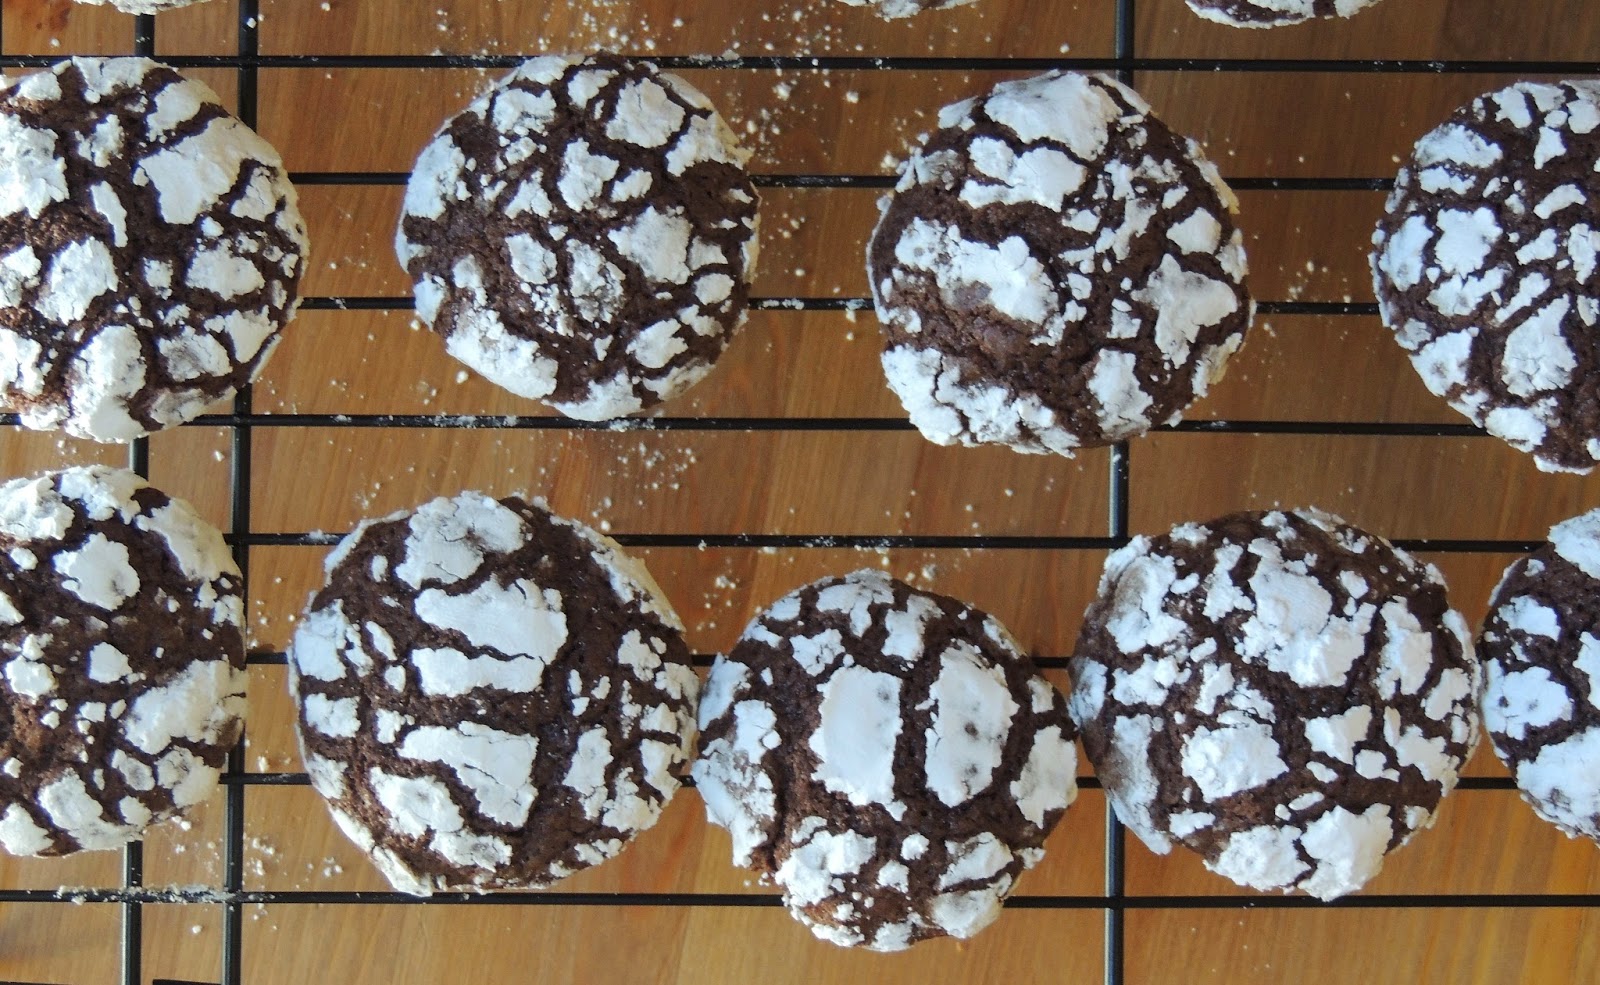
Chocolate Crinkle Cookies
ONLY TEN DAYS UNTIL CHRISTMAS!
BAKE ALL THE COOKIES!!
Are you baking up a storm in your kitchen? 'Tis the season after all. I am whipping up a whole bunch of these AH-mazing Chocolate Crinkle Cookies. Rich, sweet, chocolatey cookies, blanketed in a generous layer of powdered sugar. These cookies look like festive balls of snow, and they taste like everything you could ever want in a chocolate cookie.
I love these cookies for so many reason. First is, you can prepare the batter the night before, because it is critical that it chills for at least a few hours. Then the next morning, just roll the batter, toss each cookie in the powdered sugar, and bake! Another reason these are wonderful treats is that there is no fancy equipment or ingredients required. As long as you have a big bowl, a whisk, and a couple of cookie sheets, you are just a few steps away from decadent chocolate cookies.
After baking off my first batch, I was a bit sad because I didn't feel like the crinkles had enough powdered sugar on them (though they still tasted amazing!). The next time around, I was very generous with the powdered sugar, and now they look great! Just like the classic cookies you think of when you hear "crinkle cookies." So, pro-tip: don't be afraid to be heavy handed with your powdered sugar!
I guarantee Chocolate Crinkle Cookies will be a real crowd pleaser this Christmas season. All the chocolate lovers in your life will be begging you for these year-round!
For other chocolate cookie treats, check out the links below!
Wednesday, November 12, 2014
Apple Crisp!
I feel like Apple Crisp always warrants an exclamation point, so I have titled this delightful seasonal recipe: Apple Crisp! Woohoo!
If cool weather and changing leaves has you craving a warm and gooey apple dessert, look no further. This Apple Crisp is as traditional as it gets--and I mean that in a very, VERY good way. In fact, the base of this recipe is from the Joy of Cooking cookbook. I have mentioned this cookbook MANY times, and I cannot stress enough. It is truly a kitchen table.
It seems nowadays, anybody who can take a nice picture and write some basic recipes can have a cookbook, but the Joy of Cooking is SO MUCH more than that. It is the home cook's survival guide! From meat, to breads, to cookies, to vegetables--there is a recipe for everything (and this is totes NOT sponsored: I really truly live by this cookbook).
Also, sorry for saying "totes" back there...
Anyway, back to this sweet, cinnamon-y, crispy, gooey perfect fall dessert. It doesn't take much work, but it sure is a crowd pleaser. Might I recommend a scoop of good vanilla ice cream to tie it all together? My knees are weak at the thought.
The best apple crisp will be made with local apples freshly picked from the orchard. Whatever variety that may be, you are guaranteed to have a juicy, ripe and sweet apple. I used about 6 apples, but two of them were unreasonably large; I'd say you'll use about 8 average sized apples. I used a variety of McIntosh and Gala apples. I also enhanced the natural sweetness of the apples with a touch of sugar and a bit of freshly squeezed lemon and orange juice.
Let's not forget the second most critical part of an apple crisp; that is, the crisp. I went totally traditional--just a mixture of flour, brown sugar, cinnamon, nutmeg and cold butter. If your heart desires, you could also add in rolled oats for some added texture and nuttiness.
Dear apple crisp: get in ma belly!!
Tuesday, July 29, 2014
Mini Funfetti Cupcakes
Look at these cuties right here. Don't you want to pinch their cheeks and then gobble them right up?!
If you are feeling down, just scroll through these pictures and I can guarantee a smile will start to creep up on your lips.
Let's make homemade funfetti cupcakes, and let's make them into little bebes, and let's top them with a creamy dreamy vanilla buttercream. I think this is a great idea.
For me, funfetti instantly brings me back to childhood. The nostalgia alone has me craving a second batch. These cupcakes have a nice soft crumb thanks to the use of Greek yogurt, which replaces about half the butter of a traditional cupcake.
This recipe is just like the wonderful boxed cake mix and frosting tub-o-sugar cream of our childhood, elevated with a bit of adult class. Since we are never too old for sprinkles, we are using two kinds. First, traditional waxy rainbow sprinkles (some people call them jimmies? I don't trust those people) get mixed all throughout the cake batter. Then, after piping our buttercream, we are going to make-it-raaaain non-pareilles. Happy, happy, joy, joy.
You could also use those flat, circular sprinkles in the batter. Whatever you do--do NOT use non-pareilles anywhere within the cupcake. They will bleed their color right into the batter and leave you with very unappealing tie-dye batter rather than fun speckles of color.
OK, that's enough business for one day. It is cupcake time!
Saturday, February 1, 2014
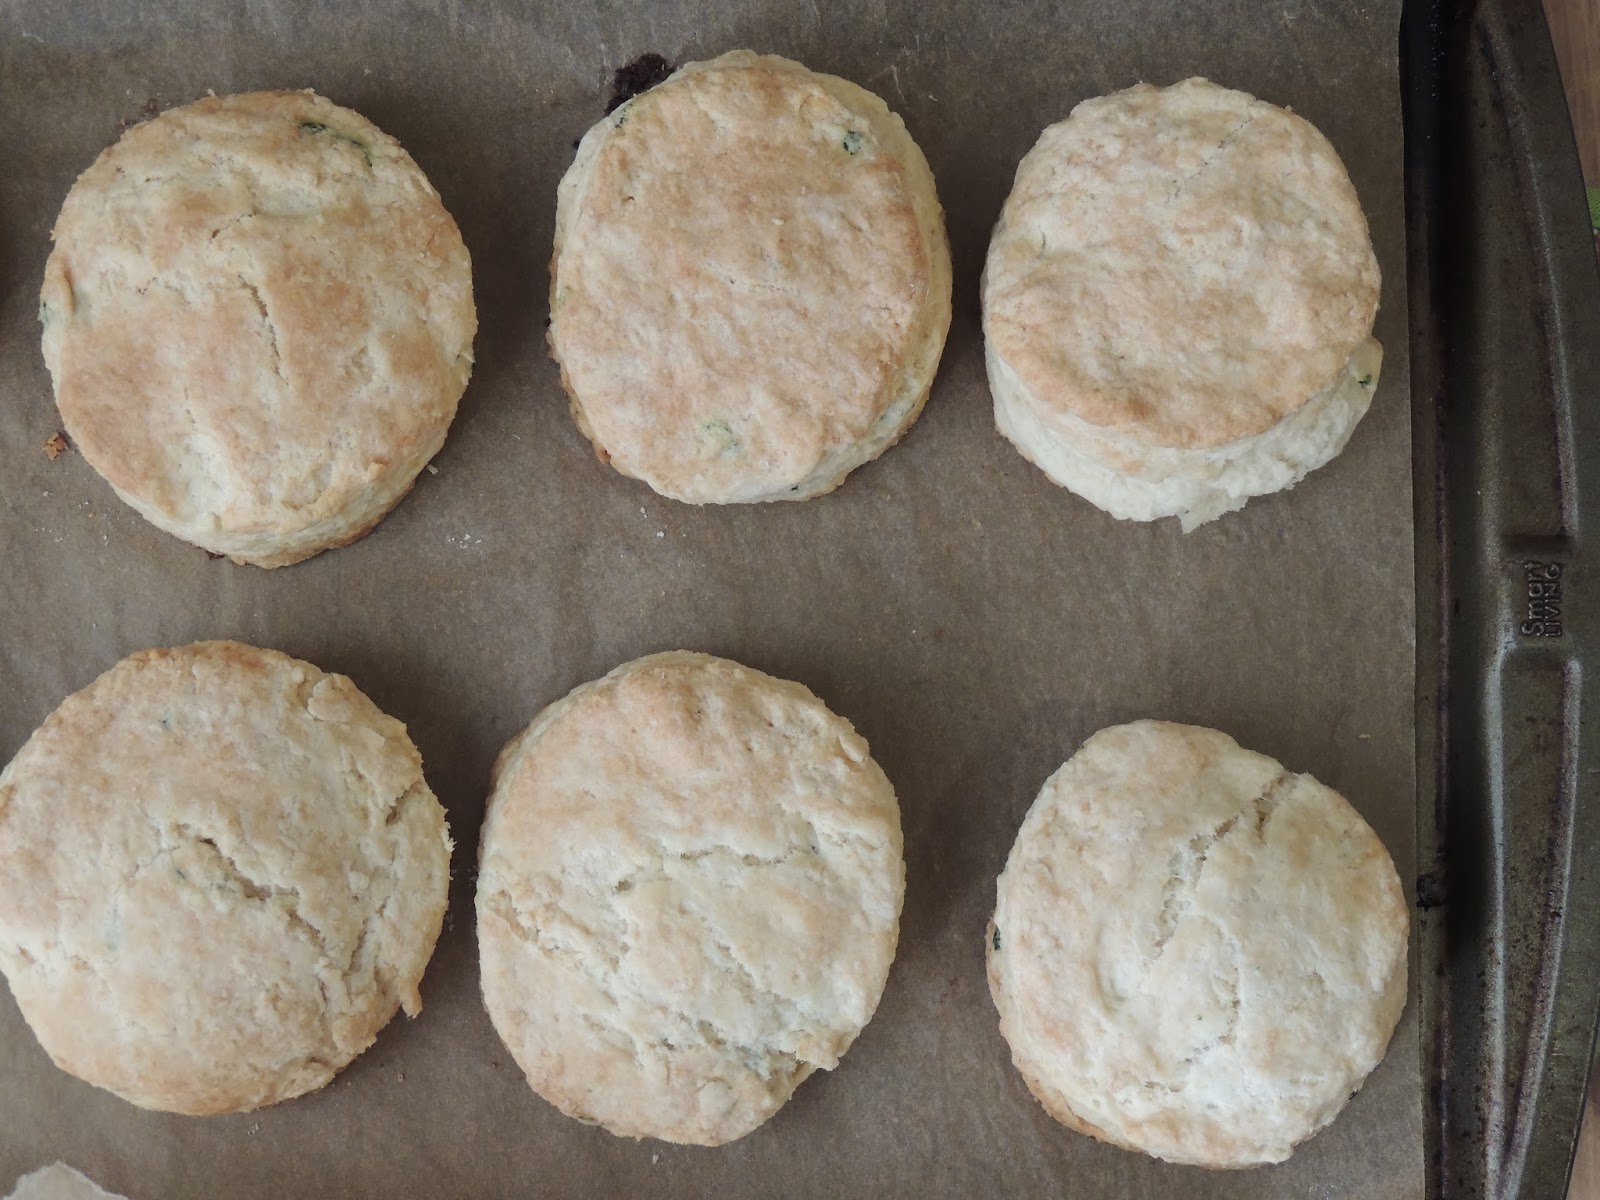
Sage Buttermilk Biscuits
Let us once again talk about biscuits. In particular, let us talk about the best biscuits I have ever eaten. THIS IS NOT A HYPERBOLE.
Let me take you back to a time a few months ago. I was sitting at work, and long before it was an acceptable time to have lunch I was having hunger pangs. At the same time my eyelids were heavy and I was craving a warm cup of coffee. What would a woman do in such a trying time!?
Well, luckily I am blessed to work in an office in downtown Boston that is just steps away from the Back Bay location of Flour Bakery. If you live in Boston, I can only assume you already know the joys of Flour. If you have never been, or plan on visiting soon, let me suggest you make a breakfast or lunch stop at there. Freshly baked goodies line the countertop and they have an amazing selection of salads and sandwiches to choose from. Joanne Chang is the genius behind it all. And luckily for us, she has not one but two cookbooks to help us recreate the joys that one can find at Flour.
Back on this day, when things were not going as great as they could have been, I took a quick walk to Flour and came away with a warm coffee and the most delicious Sage Buttermilk Biscuit. Buttery, flaky, golden brown biscuits with flakes of fresh sage all throughout a soft, tender dough. Is your mouth watering yet?
When I found the recipe for Joanne's Sage Buttermilk Biscuits online, I did not hesitate to whip up a batch of my own. And then another 2 or 3 batches after that. Seriously, these biscuits are so addicting--they remind me why breakfast is the best and most important meal of the day.
I brought these biscuits to a brunch with a some good friends--I can't even begin to tell you how impressive our spread turned out to be! The biscuits were very well received by the whole crowd. Even kitties like to get in on a little biscuit action...after all, who wouldn't!
Subscribe to:
Posts (Atom)