Showing posts with label appetizer. Show all posts

Monday, July 24, 2017

Crockpot Teriyaki Chicken Lettuce Wraps


I have your new favorite dinner recipe, right here!


There's no oven involved (but we do get to break out our slow cookers!), every bite is packed with flavor and texture, and this recipe is so super simple! It's a win/win/win.


These Crockpot Teriyaki Chicken Lettuce Wraps are bursting with sweet. sour, and spicy Asian flavors. It's like drippy teriyaki chicken meets fresh and crunchy spring rolls, all tucked together in a piece of fresh, tender bib lettuce. They are light yet satisfying - a perfect summer meal or appetizer! Let's walk through it all...


It all starts with the most unbelievable teriyaki chicken, which we whip up with very little thought thanks to our Crockpots. It starts with chicken breasts and chopped onions layered in the bottom of the pot, doused in an amazing teriyaki marinade. The marinade is quite simple and packed with tasty ingredients you probably already have on hand - teriyaki sauce, soy sauce, sweet chili sauce, lime juice, garlic and ginger. After 4 to 5 hours cooking on high, we simply shred up the chicken, thicken the sauce with a bit of cornstarch, and pile it high on our wraps!


Besides the lettuce, I love adding a handful of vermicelli rice noodles to each leaf of lettuce. The rice noodles soak up the glorious sauce from the chicken and give the whole dish a little more oomph. To finish up, we just need a few simple fixin's. I'm partial to cilantro leaves, sesame seeds, and a squirt or two of sriracha.


Now, this dish...sure, it's a little messy. Your fingers are going to get sticky and you may get teriyaki sauce all over your face. But trust me - for a dish this delicious, it's worth it!


Monday, January 30, 2017

Twice Fried Buffalo Wings


The Super Bowl is less than a week away, which means we need to start seriously thinking about football appetizers and game day snacks!


I've recently had a hankering for classic Buffalo Wings - the type of wings that are hot, spicy and buttery, with a crunchy skin and fall-off-the-bone meat. I don't think that's too much to ask for, but there was the task of having to find really good buffalo wings in the greater Boston area. So, one thing led to another and I decided I should just make them myself.

With the big game around the corner, this past weekend seemed as good a time as any to give homemade buffalo wings a whirl. I enlisted the help of my friend, Lauren, who also proposed that we make homemade pretzels and mustard (and oops, we also made a cheese dip, wow what a great day).


Turns out, the talented J. Kenji Lopez-Alt over at Serious Eats did quite a bit of buffalo wing research for us, so I used his post as guidance for what I assumed had to be a spectacular wing (considering they were twice fried!)


As for my method, it is essentially Kenji's, but generally at lower temperatures and with shorter cooking times on the second fry. I learned this weekend that I am very scared of big pots of a hot oil and Lauren had to coach me into just dropping the wings in for the second fry...hey, we all have our struggles!

So, how do we get perfect wings at home? First, we combine oil and lots of wings/drumettes into a big dutch oven. Over medium heat, we gradually bring the oil up to 225 degress farenheit, stirring the chicken occasionally until the chicken is cooked through and just beginning to have color on the outside.


After the initial fry, we remove the chicken from the oil to strain and rest it for at least an hour at room temperature. Next, more oil goes into the dutch oven and is heated to 375 degrees. Working in smaller batches, the wings are then deep fried until crispy, golden and ready to douse in sauce.


As for the sauce, it is nothing more than melted butter and Frank's Red Hot. Just before serving, the wings are tossed in the dip. Bleu cheese dressing is essential to have on hand for dipping, and some celery will calm your pallet between plate-fulls of wings. Jump to the recipe below for detailed instructions and tips on how to plan ahead for the Super Bowl Sunday!


Monday, December 5, 2016

Fried Pumpkin and Sage Arancini


AKA Festive Balls of Happiness!


That's what these are, and I would love it if I could perhaps insist that you add these to your holiday party menu.


Fried Pumpkin and Sage Arancini is the exact type of recipe we need in our arsenal this type of  year. Indulgent and bursting with flavor. Crunchy yet creamy, salty and a tiny bit sweet. This is the recipe that will take center stage on your buffet table and impress your guests for days after.


About a year ago, we first dipped our toes into the world of homemade arancini. It was a little bit scary, but we learned a lot. We learned that arancini, in any form, is totally delicious and will most definitely fly off the table. We learned you can't eat just one. We also learned that, no matter how much we doubt it, arancini is actually not all that difficult to make. With a little planning and a little patience, we all can do it - seriously, we can!


I should also tell you that you can make these ahead, freeze 'em, and then reheat them when you are getting ready to serve them!  Simply follow the entire recipe below, cool the arancini completely, then store in between layers of parchment paper in a freezer bag. Once frozen, they will keep for about 2 months. When ready to serve, place them on a rack set over a baking dish and bake at 375 for about 20 minutes until hot throughout. See!? As if the golden brown crust and oozing centers didn't convince you, this proves that these really are the perfect party appetizer!


Monday, December 21, 2015

Fried Arancini


Helloooooo, beauties!


We're here, in the holiday rush. Running from party to party, wrapping gifts, and cooking up a storm.


Of course, we aren't hiding from it. We are embracing it, charging full steam ahead to spend the last couple of weeks of 2015 (I'm sorry, what and where was I?) with those we love most.

I have unlocked the magic of the holiday season with these special, delicious, other-worldly appetizers. Homemade start to finish. The perfect holiday treat for new friends and old. Fried Arancini. Who could say no to these golden nuggets?! Nobody, that's who.


I'm normally not one to brag about my kitchen escapades, but even I have to admit that I impressed myself when I took the first bite of my freshly fried arancini. I was even more flattered when these absolutely FLEW off our holiday party table. If you're planning a last minute holiday party, or a quiet night in with good friends and family, make my fried arancini the star of the show!


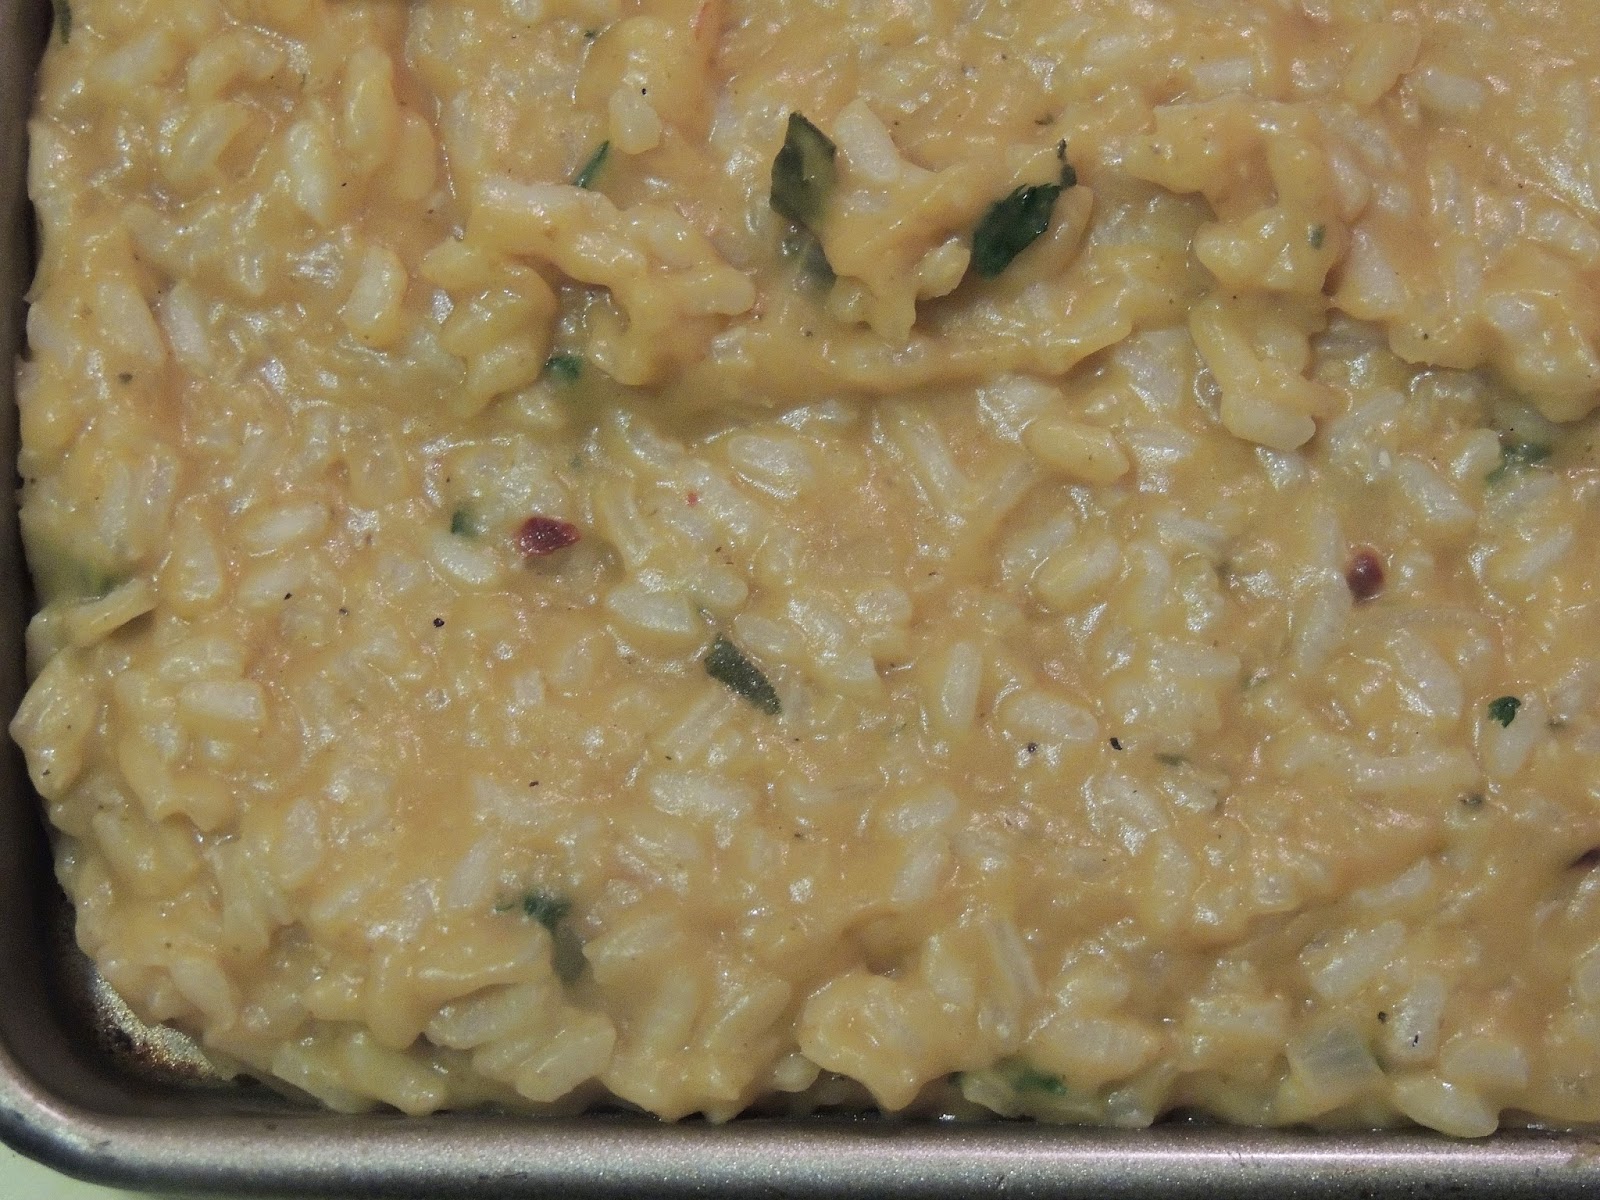
Here's the thing though: these rather impressive apps are actually not all that difficult to make, so long as you plan ahead (which, if I can do that, so can you!). I've included a good deal of detail in the recipe below (including a full risotto recipe), so don't be intimidated by the length - I'm just trying to make things easier for you!

Wednesday, November 27, 2013

Friendsgiving and Whipped Feta Crostinis


This past weekend, Cory and I hosted our second annual Friendsgiving. Friendsgivings have become somewhat of a cliche, but I absolutely LOVE it. Everyone chipping in, bringing a dish, enjoying some craft beer or good wine, and celebrating the holidays together. There's nothing like it!


I changed up my menu a bit this year, compared to last year when I wanted to make my appetizers mimic a traditional Thanksgiving dinner (turkey, cranberry sauce, sweet potatos, green beans...) Because we typically have a larger crowd of people, with folks coming and going at all different times, I like to keep our Friendsgiving table filled with appetizers and finger foods. At this point, I don't think we can handle a sit down dinner. It's not that me and my friends aren't classy. We are VERY classy.

So - finger foods, that everyone can enjoy, no matter what time they join us. I also wanted to put out some dishes that would still be tasty even at room temperature. And for my challenge, I wanted to make my very first cake! All together, everything came out great, and my amazing friends also brought some additional delicious treats that kept everyone coming back for more!
My spread was made up of the following dishes:


Whipped Feta Crostinis with Asparagus and Balsamic Reduction - recipe after the jump!!

Ina Garten's Stuffed Mushrooms


The woman can do no wrong--recipe here. I was taking tastes of the filling all morning and had to stop myself before eating it all!

Bourbon Whiskey Glazed Cocktail Meatballs


I made a double batch of these, which meant I had over 50 meatballs in my Crockpot. There was nearly a battle over the last meatball. These suckers are addicting. Next time you have any sort of party or potluck, I strongly encourage having these on the table! Find the recipe here.

Sweet Potato and Goat Cheese Tarts in Fyllo Dough Cups


I found this recipe in a magazine and snapped a picture of the recipe on my phone. Tangy and sweet and totally festive!

Pumpkin Dream Cake with Cinnamon Vanilla Bean Cream Cheese Frosting

Making a cake is so much fun and I got to put my new cake stand to good use! I will be working on my icing skills over time, but the important part is that this cake was truly a dream - so tasty and moist. I used this recipe but instead of maple syrup in the frosting, I added one vanilla bean and an extra teaspoon of ground cinnamon. Divine!

My awesome friends also brought some seriously yummy foods, including rice balls, cheesy potato casserole, butternut squash raviolis, veggie platters, spiked apple cider, and a pumpkin dip with gingersnaps. I cannot thank everyone enough!


Well, Thanksgiving is tomorrow, and before the recipe I wanted to take a moment to be totally cliche and reflect on what I'm thankful for. My family, friends, Cory, Dot, Angelo, good health, a job that challenges me and that I enjoy, and you my readers! My life is all the better for it. I hope you all have a fabulous holiday and take some time to be thankful for the people who have changed your life!

Monday, September 30, 2013

Lightened up -- BBQ Chicken Nachos


Fall has officially arrived and that means football season is in full swing!


I haven't had a lot of time to fully enjoy the first few weeks of the season, which means I haven't had much time to whip up a really fun game day appetizer.


Well, it's time for that to change and it is time for you guys to make these amazing BBQ Chicken Nachos on game day!


There are very few things in the world better than a big plate of nachos, a cold beer, and a whole Sunday full of football games. But we've all had the usual -- chips with melted cheddar cheese, jalapenos, taco meat, salsa, sour cream, the works. I think it's time we jazz up our nacho game and make it BBQ inspired instead! Added bonus - I'm lightening up this plate of nachos with a few key changes that won't compromise flavor but will make you feel less guilty when you add a second or third handful to your plate!


These nachos start with whole wheat tortilla chips (I'm a fan of Tostitos whole wheat scoops, but any tasty tortilla chip will do!) and shredded grilled chicken breasts. To stay true to the barbeque theme, Monteray Jack cheese is melted on top of the chips and chicken. Oh boy, it's getting real.


After the nachos come out of the oven, a few additional toppings are added in order to take our nachos to the next level: cole slaw, prepared with a homemade chipotle mayonnaise, low sodium BBQ sauce, and green onions. Crispy, smokey, cheesy BBQ nachos. I mean, how could this get any better?

Wednesday, July 10, 2013

Strawberry and Goat Cheese Crostini


I am so obsessed with goat cheese. It's one of those things I'll see in a dish on a menu and immediately order that without looking at the rest of the offerings. It's creamy, and soft, and just a little bit tangy.


Goat cheese is an all-inclusive cheese. It works well with savory dishes and is also great with some sweet pairings.


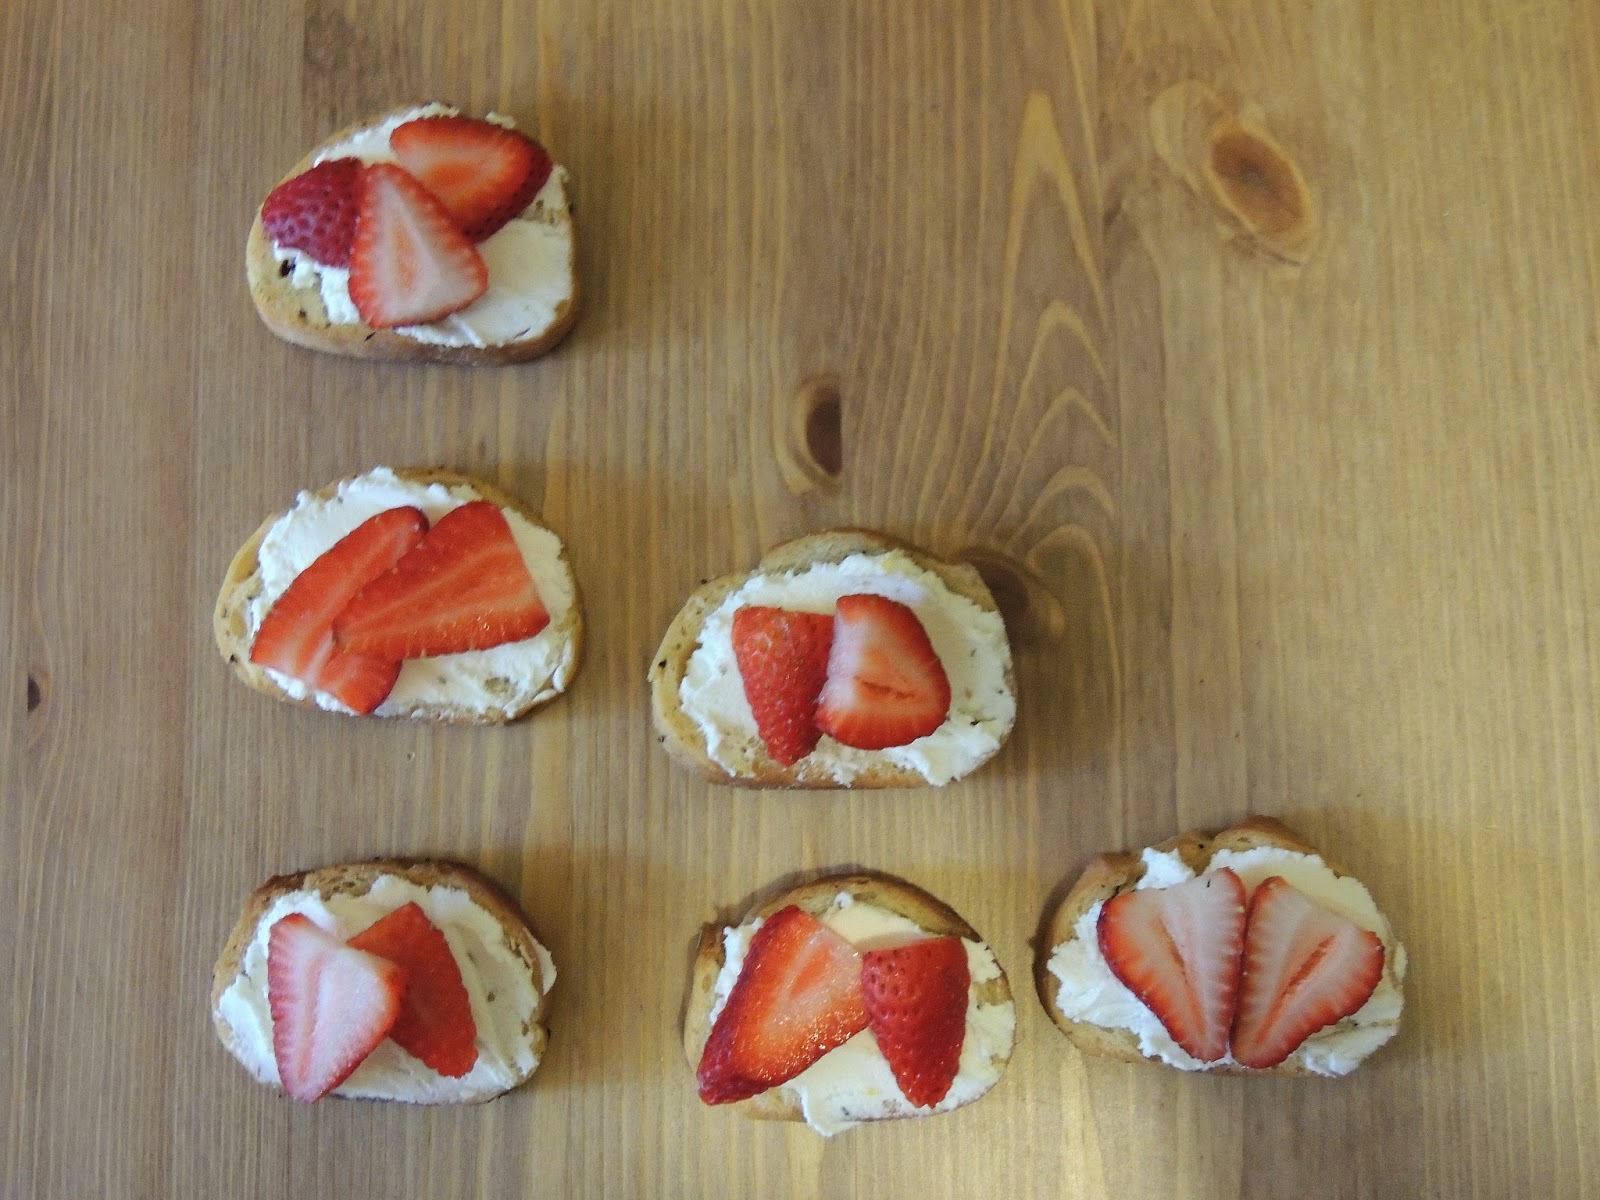
I particularly love goat cheese in these delicious snacks I made last week. The cheese is mixed with lemon and honey, spread on top of crispy crostinis and topped with slices of fresh, ripened strawberries.


These Strawberry and Goat Cheese Crostinis are the perfect summertime appetizer or snack. With the exception of toasting the bread, there is hardly any time spent dwelling over a hot stove. The strawberries are sweet and juicy, the perfect compliment to the natural sweetness of the honey. The soft goat cheese spread on top of crispy baguette slices is just the contrast you crave in a small bite. Simple but elegant--sounds like a great deal to me!


Here's what you need for Strawberry and Goat Cheese Crostinis (Print Recipe!)

1 French baguette, cut into 1/2 inch slices
4-6 ounces fresh goat cheese
Zest of 1 lemon
2 tablespoons honey, plus more for drizzling
1 cup strawberries, sliced thin vertically

Here's what you do

Place the slices of bread on a dry baking sheet. Bake at 400 degrees for about 5 minutes until just browned. Watch carefully to ensure they don't burn. Set aside to cool.

In a small bowl, use a fork to mash together the goat cheese, lemon zest, and 2 tablespoons of honey. Add in a splash of lemon juice if the mixture isn't smooth.

Spread about a tablespoon of the goat cheese mixture onto each baguette. Arrange 2 to 3 slices of strawberries on top of the goat cheese. Drizzle with more honey just before serving. Garnish with torn mint leaves if desired.


Tuesday, May 21, 2013

Spicy Taco Layer Dip


I love this time of year. When summertime rolls around that means it's just the right time for backyard barbeques and cookouts.

I also happen to love the food that comes along with cook-outs. Grilled chicken, juicy burgers, crispy hot dogs, creamy pasta and potato salads. All American good food.


This Spicy Taco Layer Dip is the perfect dip for a backyard barbeque. The warm, creamy layers blend together with just the right amount of heat for an extra kick. Spicy taco seasoning and medium heat salsa give this dip some extra oomph. Melted shredded chedder on top along with rich cream cheese on the bottom tempers that heat for a well balanced dip. Serve alongside your favorite tortilla chips and celery sticks.


Oh, by the way. If you're looking for something that is quick and simple to bring to your Memorial Day barbeques this weekend, I'd say this dip has you covered. Prep time is less than 15 minutes, and after just a few minutes under the broiler it's ready to be served.

And I guarantee your fellow party-goers will be coming back for seconds and thirds and fourths.


The layers are quite simple. It all starts with softened cream cheese in a deep, round or oval baking dish or casserole dish. I actually used the 1/3 less fat variety of the cream cheese, because why not save a few calories here and there?


On top of the cream cheese goes refried beans. The beans don't really add much in the way of taste, but this layer is a good filler and stretches the dip even further. They are creamy and tender, and the perfect partner to the cream cheese.


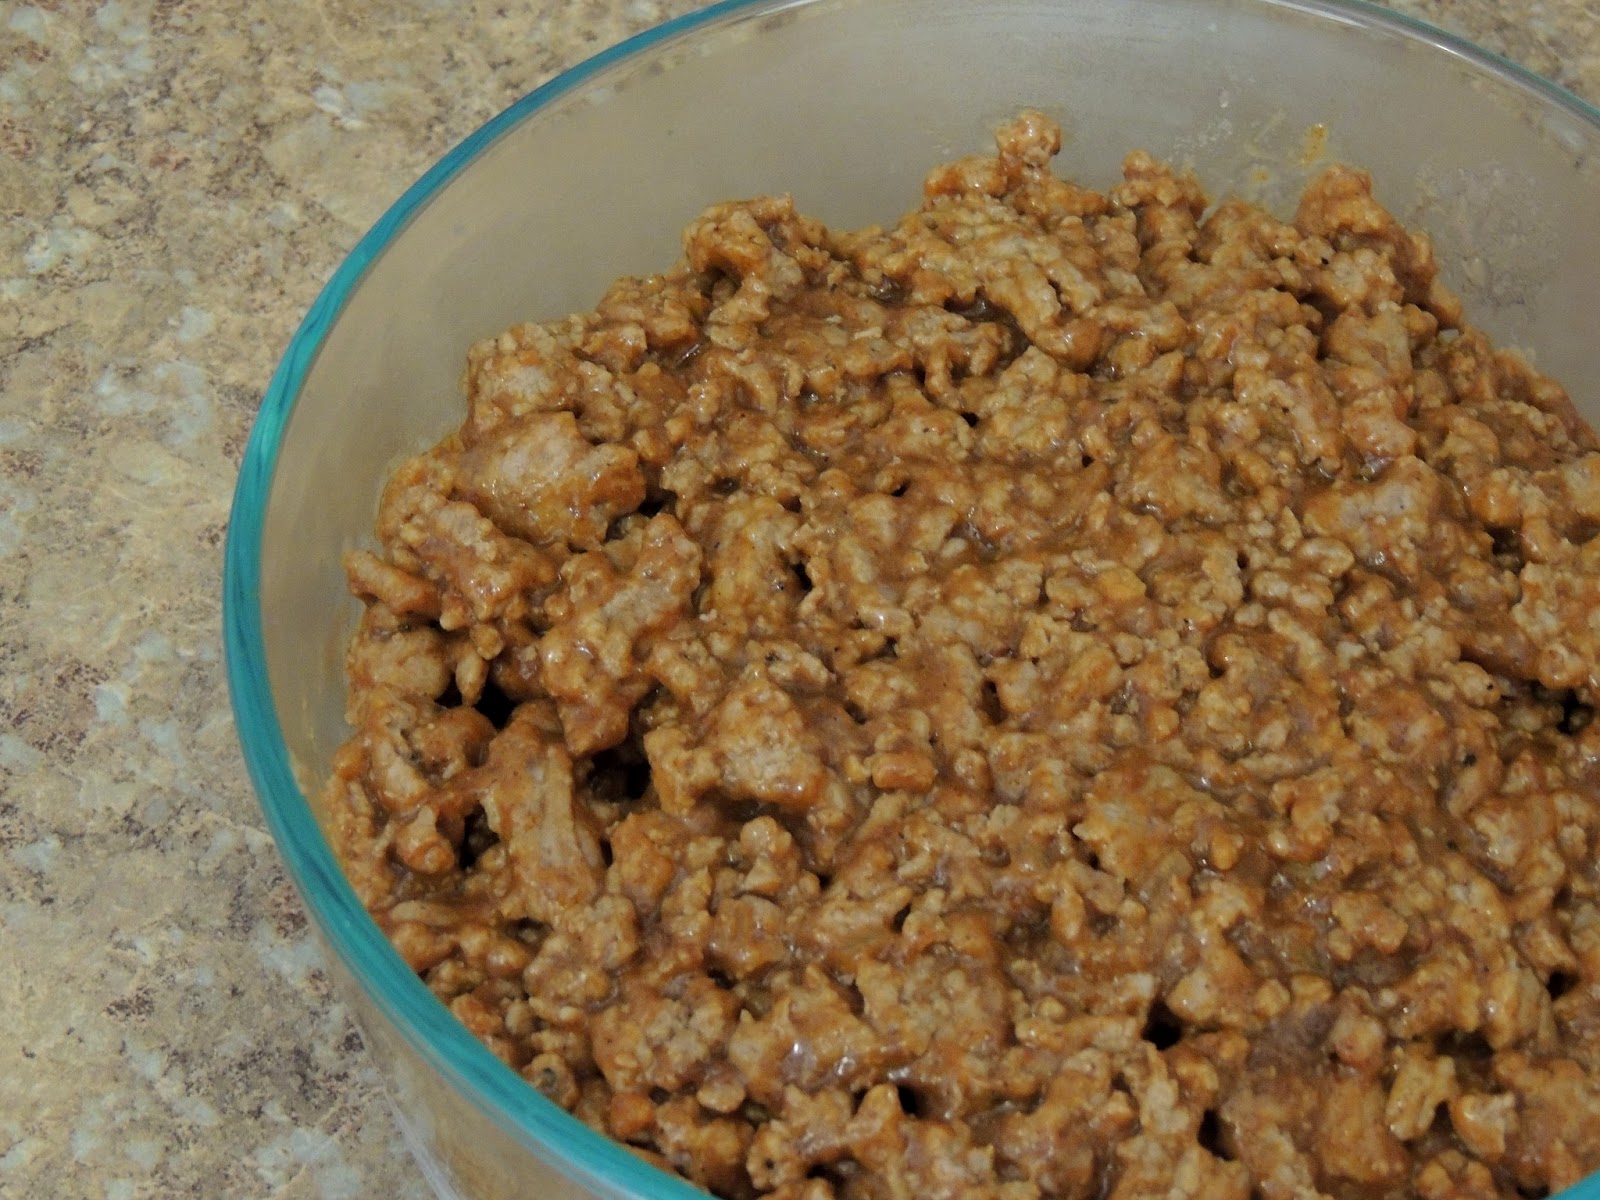
A pound of ground meat (I used ground turkey, because that's what I had on hand) gets browned and crumbled with 1 medium onion. A package of taco seasoning and a touch of water go in to create that amazing juicy taco meat we all know and love. Don't deny it, there's no reason to.


Taco meat on top of beans.


A jar of salsa on top of taco meat. I used medium, but if you're a crazy hot and spicy lover, you can bump it up to hot salsa.


Shredded cheddar cheese on top.


The dip goes into a hot oven for just about 10 minutes, until the cheese is melted and just starting to brown and the layers are heated through. The salsa will loosen up a little bit, but after it sits for a few minutes, it gets absorbed by the meat and beans for carefree dipping.

That's all it takes for a delicious, gooey taco dip. Garnish the top with chopped fresh chives, chopped tomatoes, or black olives if your heart so desires. I hope you and your friends can enjoy this dip all summer long!