Tuesday, May 28, 2013

Watermelon, Feta and Spinach Salad


I hope everyone had a wonderful Memorial Day! I was on Long Island visiting the family this weekend. Unfortunately, the rainy and windy weather left little to be desired, but the weekend was still full of fun activities!


I went to see the Great Gatsby on Sunday with my best friend, her sister, the boy, and my mother. A few minutes in, I turned to Cory to tell him that I thought the movie sucked. But then all of a sudden things really turned around, and by the end of it I have to say I thought it was great!


The modern twists on the old classic were fun and relatable. It made the extravagance of Gatsby's life front and center. Speaking of Gatsby, Leo is just fantastic. He's so convincingly in love with Daisy! Tobey Maguire was also a great Nick Carraway--his puppy dog eyes make Nick seem all the more naive and innocent. And Carey Mulligan was a great Daisy. Just carefree, and foolish, and living in some fantasy world.


This elegant Watermelon, Feta, and Spinach salad kind of reminds me of Daisy. It's pretty to look at, carefree to pull together, with just the right amount of sweetness. The lemon basil dressing is so bright and fresh. The tangy feta pairs well with soft, tender spinach and juicy, sweet watermelon.


I have found that my favorite kinds of salads are those that actually have very little lettuce involved. In fact, I sometimes prefer no bed of greens at all. A salad becomes something exciting when all those other things are added in. The crunchy, flavorful fruits and veggies that are more than just water. Fun cheeses and crunchy nuts. A sweet, homemade vinaigrette. Lettuce is just something my turtle eats at this point...


This salad would make a perfectly pleasing lunch, a wonderful picnic appetizer, or a satisfying meal when paired with lean grilled chicken breasts. It's essentially summertime on a plate. Ingredients below will serve 4 for lunch or starters, and 2 for a meal. Enjoy!

Tuesday, May 21, 2013

Spicy Taco Layer Dip


I love this time of year. When summertime rolls around that means it's just the right time for backyard barbeques and cookouts.

I also happen to love the food that comes along with cook-outs. Grilled chicken, juicy burgers, crispy hot dogs, creamy pasta and potato salads. All American good food.


This Spicy Taco Layer Dip is the perfect dip for a backyard barbeque. The warm, creamy layers blend together with just the right amount of heat for an extra kick. Spicy taco seasoning and medium heat salsa give this dip some extra oomph. Melted shredded chedder on top along with rich cream cheese on the bottom tempers that heat for a well balanced dip. Serve alongside your favorite tortilla chips and celery sticks.


Oh, by the way. If you're looking for something that is quick and simple to bring to your Memorial Day barbeques this weekend, I'd say this dip has you covered. Prep time is less than 15 minutes, and after just a few minutes under the broiler it's ready to be served.

And I guarantee your fellow party-goers will be coming back for seconds and thirds and fourths.


The layers are quite simple. It all starts with softened cream cheese in a deep, round or oval baking dish or casserole dish. I actually used the 1/3 less fat variety of the cream cheese, because why not save a few calories here and there?


On top of the cream cheese goes refried beans. The beans don't really add much in the way of taste, but this layer is a good filler and stretches the dip even further. They are creamy and tender, and the perfect partner to the cream cheese.


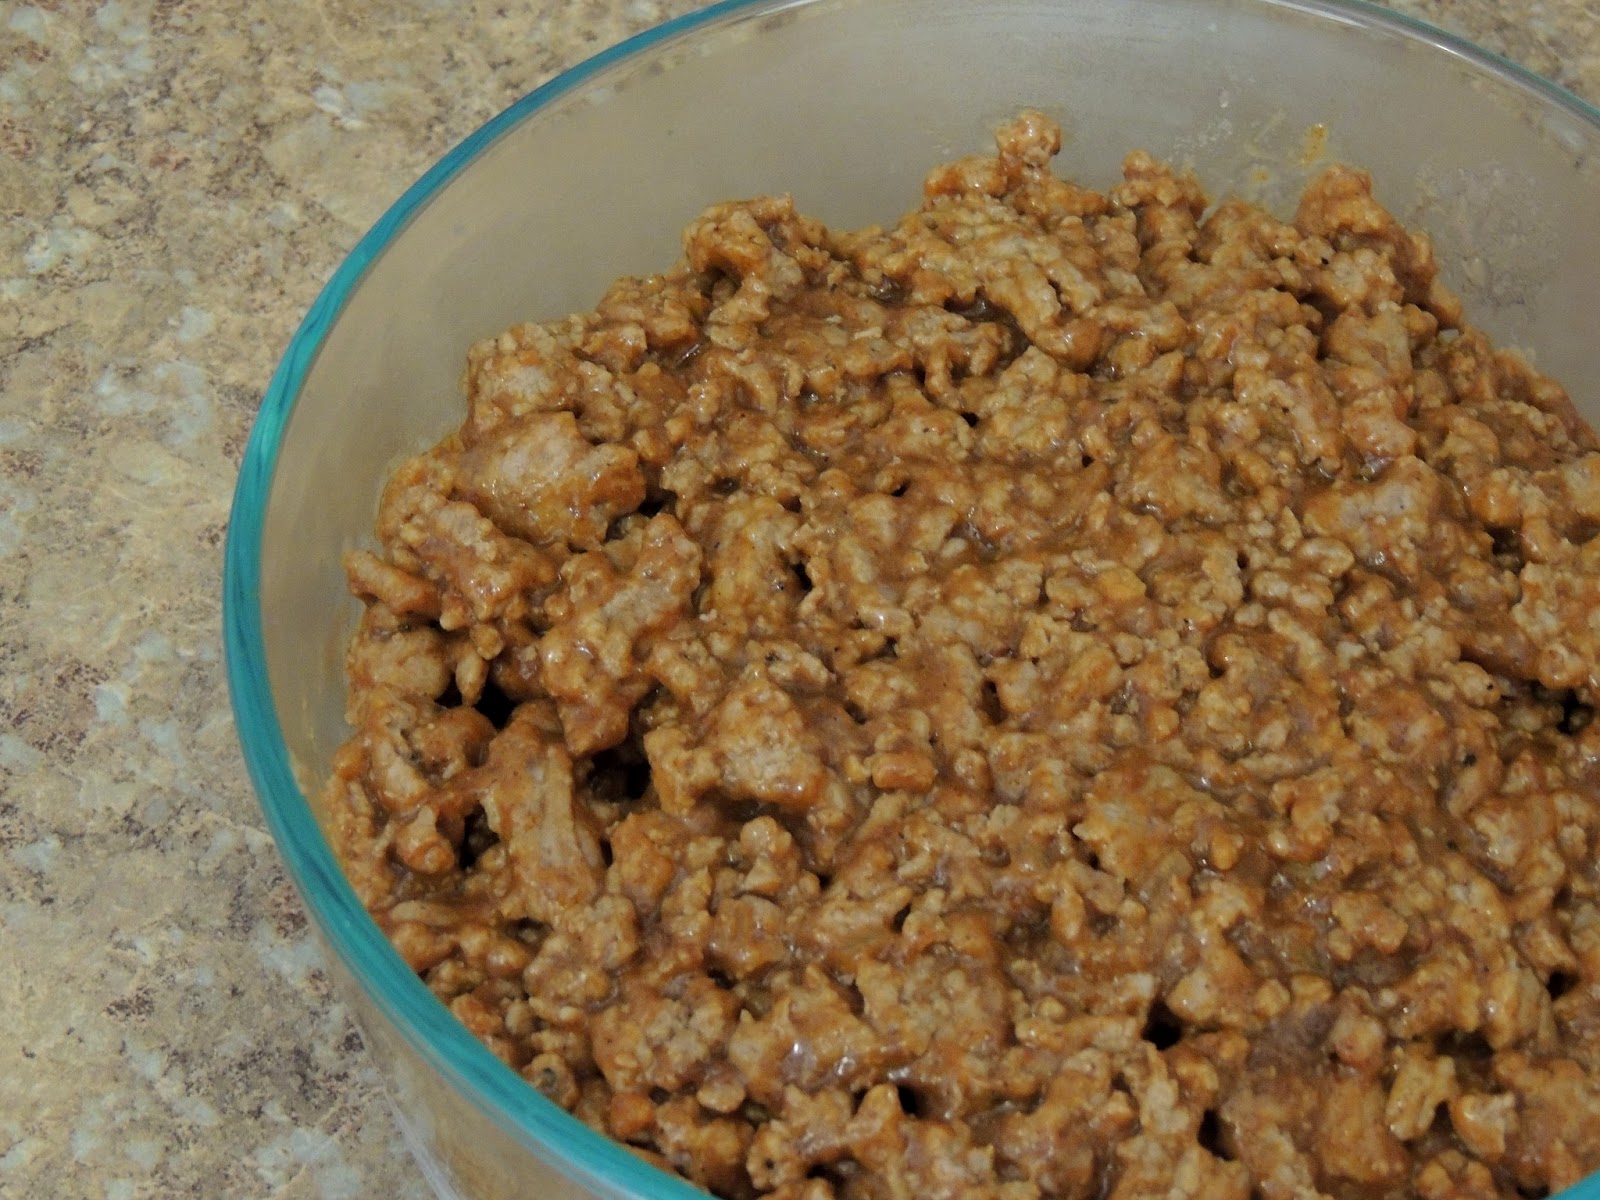
A pound of ground meat (I used ground turkey, because that's what I had on hand) gets browned and crumbled with 1 medium onion. A package of taco seasoning and a touch of water go in to create that amazing juicy taco meat we all know and love. Don't deny it, there's no reason to.


Taco meat on top of beans.


A jar of salsa on top of taco meat. I used medium, but if you're a crazy hot and spicy lover, you can bump it up to hot salsa.


Shredded cheddar cheese on top.


The dip goes into a hot oven for just about 10 minutes, until the cheese is melted and just starting to brown and the layers are heated through. The salsa will loosen up a little bit, but after it sits for a few minutes, it gets absorbed by the meat and beans for carefree dipping.

That's all it takes for a delicious, gooey taco dip. Garnish the top with chopped fresh chives, chopped tomatoes, or black olives if your heart so desires. I hope you and your friends can enjoy this dip all summer long!

Saturday, May 18, 2013

Red Pepper Tomato Meat Sauce over Zucchini Ribbons (Paleo Friendly)


I have this weakness for pasta. It has this hold over me, one may say I'm crazy for it.

I can't say exactly why I have this undying love for pasta. Perhaps it's the way I feel so (un)flatteringly full after a large plate of it. Or maybe because the carbohydrates comfort me like no man could.


Because I put such an emphasis on pasta dishes in my food life, I'm always so impressed by people who are on low- or no-carb diets and aren't in some kind of carbohydrate deprived depression. For example, I know many people who have tried or are still on the Paleo diet--which is a diet high in fats, vegetables, and protein. Read more about it here.

This delicious recipe can easily be catered to my friends and family out there who are on such a diet but need some kind of "pasta" fix--and believe it or not, it doesn't involve cheating on your diet and actually eating pasta!


I prepared a Red Pepper Tomato Meat Sauce and served it over blanched Zucchini Ribbons. A heaping pile of crisp zucchini topped with a sweet and smokey homemade sauce. I packed my sauce with fresh herbs and bright lemon juice for a flavorful, rustic feel. Making a quick homemade sauce can be especially important if you are on a diet because you know exactly what's going into the pot, and therefore you can control the flavor and salt content while eliminating any preservatives.

Disclaimer -- I am not a dietary or nutrition expert. This is most likely not a TRUE Paleo recipe, but I am sure that it can be catered to that diet. And even if your not on a diet but just watching your carb intake, this quick and tasty meal can cut out days worth of calories! This meal was the perfect weeknight dish that really got me over the mid-week hump.

To make the zucchini ribbons, use a traditional vegetable peeler to "peel" the zucchini down to the seeds. I did not use the core of the zucchinis as they carry a lot more moisture. Place in a colander in the sink to drain slightly.


Meanwhile, gather up your sauce ingredients.


In a large, heavy bottomed skillet, lean ground turkey is browned and crumbled then removed from the pan using a slotted spoon. Next, a vidalia onion is sauteed in a bit of butter and olive oil. Garlic joins this party soon after.


A can of crushed tomatoes, a jar of roasted sweet red peppers, and a small can of tomato paste become quick friends in this sauce. Use a little bit of chicken broth to thin out the mixture. I flavored my sauce with chopped fresh thyme and parsley, along with some dried oregano.


Next, grab your handy dandy immersion blender and pulse the sauce until the tomatoes, peppers, and onions become smooth and combined. Very few lumps should remain.


Add the juice of one lemon, a few teaspoons of sugar (or other natural sweetener for Paleo), salt and plenty of cracked black pepper. Boil the sauce. Reduce to simmer. Stir in the turkey and allow it to simmer for about 20 minutes until thickened. Take in how good it smells.

Bring a pot of salted water to a boil. Add the zucchini ribbons and remove after 1 minute with a slotted spoon. Run under cold water to stop the cooking and keep the zucchini crispy. The crispiness of the zucchini is what makes you forget about that whole pasta thing.

Plate the zucchini and top with a GENEROUS helping of the sauce. And, I still couldn't resist freshly grated Romano cheese on top. It's totally optional.


Quick tip -- if you are cooking for someone who is not on any sort of dietary restrictions, you can use the water that you blanched the zucchini in to cook them up a box of pasta. Top the pasta with a few zucchinis and your red pepper sauce. After all, this sauce is delicious on top of anything!

Monday, May 13, 2013

Classic Fudge Brownies


I love trying out new, rad desserts with crazy new flavor combinations. It's fun and satisfying. But sometimes we need to keep it simple. Go with what we know.

Brownies are a dessert treat that very rarely disappoint. They are versatile and comforting. There are tons of brownie recipes out there, and you can jazz any brownie up into something unique and exciting.


When my parents came up this weekend for a Boston adventure, I was trying to think of a tasty dessert that I could whip up for them on the night they arrived. My mom suggested warm brownie sundaes, which was absolutely genius.


My personal brownie preference is one that has more of a cake-like texture, rather than very dense, fudgy brownies. The recipe that follows is just that -- rich and chocolatey with a texture that is more crumbly with a soft and fudgey middle. My mouth is watering just thinking about them!


This recipe is easy to throw together and even easier to eat. You don't need to use any kind of electric mixer...just a couple of mixing bowls, a whisk, and some elbow grease will get you there.

Start by whisking together the dry ingredients (flour, cocoa powder, baking powder, a pinch of salt, and a touch of cinnamon).


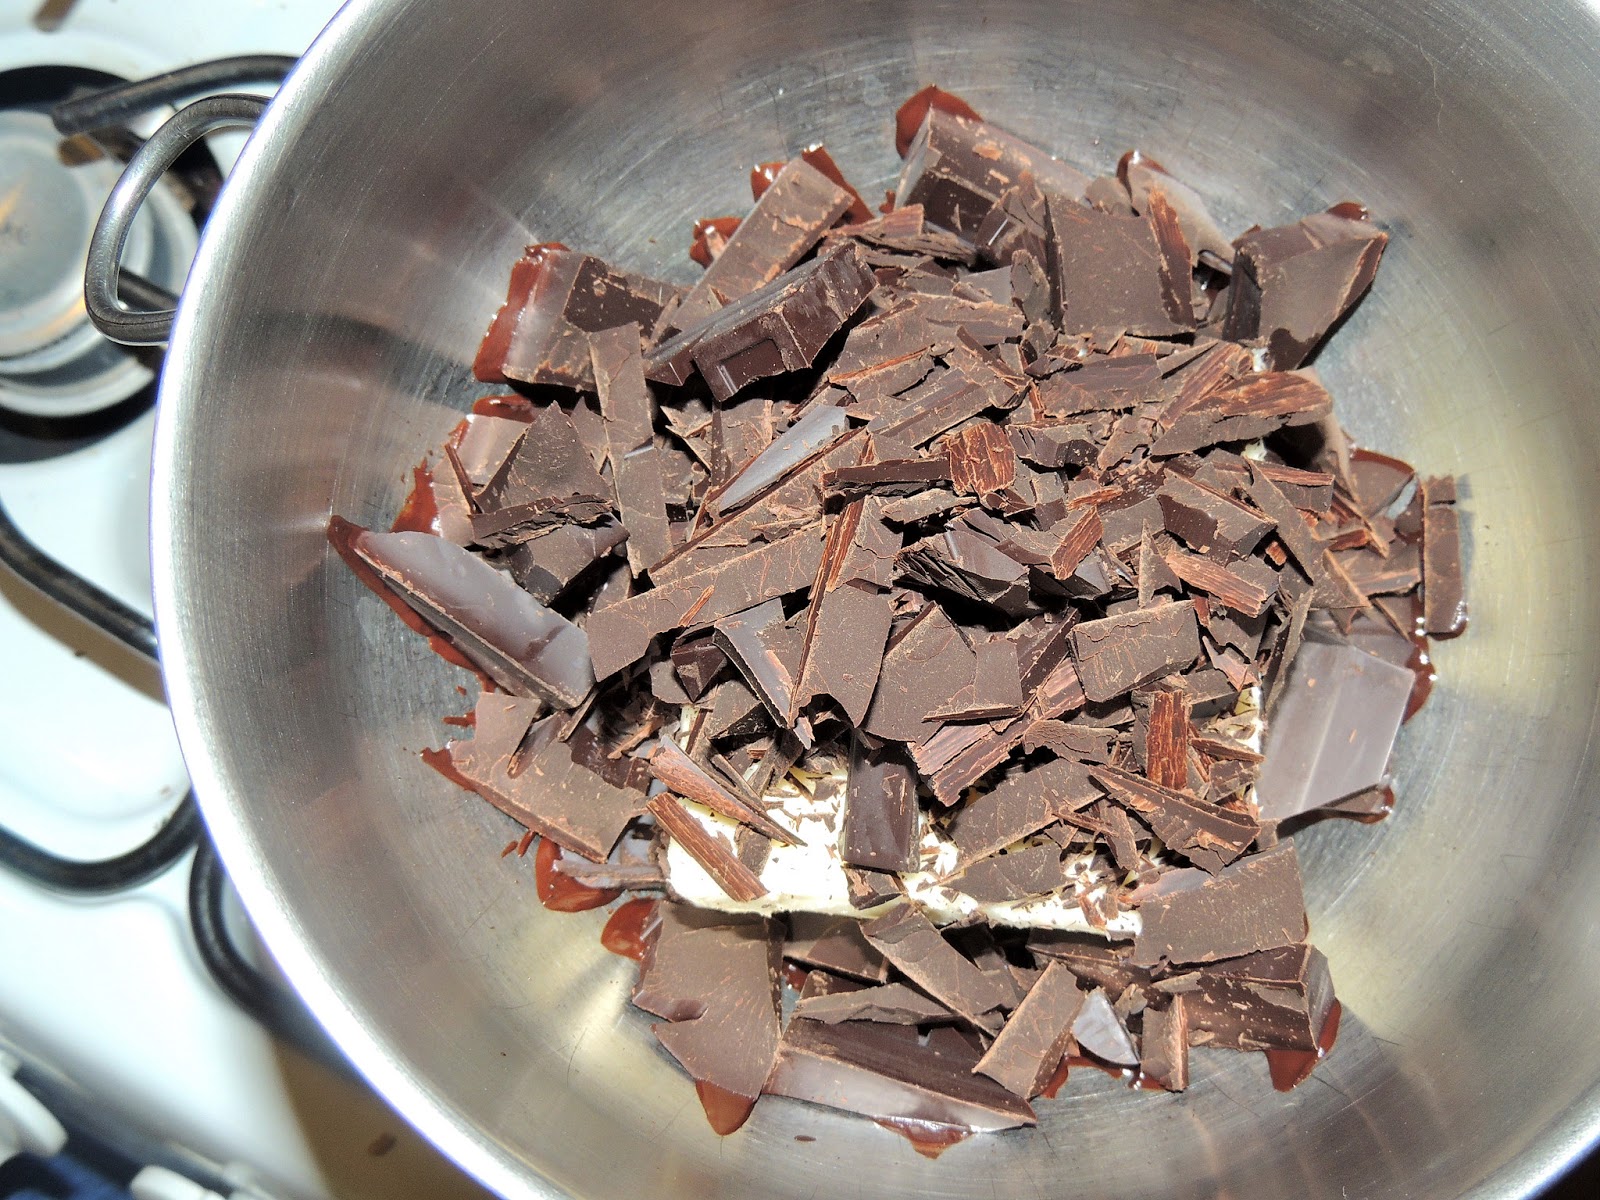
In a make-shift double boiler (that is, a large bowl set over a pot filled with about a couple of inches of simmering water), melt together 2 sticks of butter and 6 oz. of bakers chocolate. Please keep bakers chocolate away from dogs and cats!!


Allow the chocolate to cool slightly. Then, a bit of brown sugar and granulated sugar get mixed in along with 5 eggs and tasty vanilla extract. Chocolate. Fudge. Overload.


Dump the dry ingredients into the wet ingredients and mix until totally incorporated.


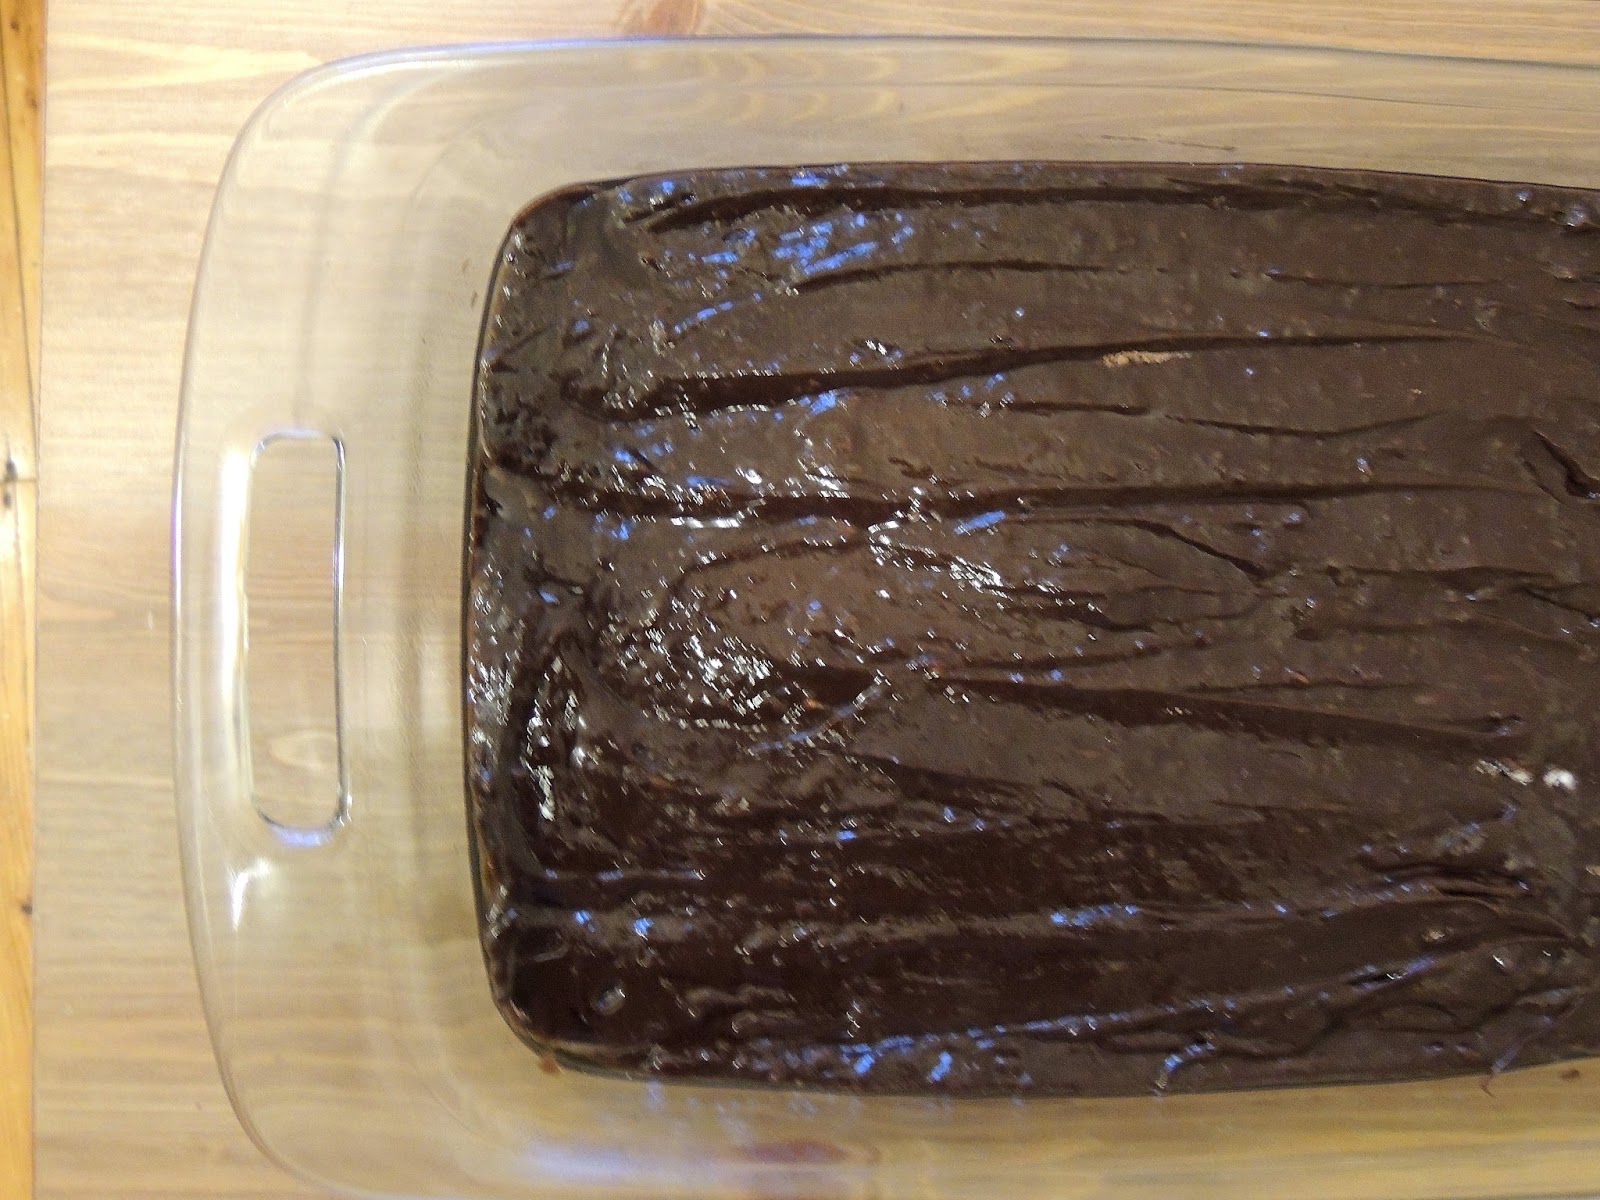
Bake in a greased 9 x 13 glass baking dish for 35 to 45 minutes.


Wait rather impatiently for the brownies to cool...


Cut them into 12 big squares...


And devour! For ultimate results, serve brownies with ice cream and a buffet of toppings for irresistible ice cream sundaes.


My toppings bar included chocolate syrup, Reeses pieces, chopped walnuts, fresh strawberries, shaved coconut, and non-pareilles. My mom was mad that there was no whipped cream, but I don't like whipped cream so I didn't bother making any! hahah OOPS! Next time!

This is a great dessert to make for a crowd. Brownies will last, well wrapped in an airtight container, for about 4 days (if they last that long...). Adapted from the Joy the Baker Cookbook.

Monday, May 6, 2013

Pork Lo Mein


Hi guys!


Did you miss me? I missed you a lot, too. I'm so happy to be back to blogging on a more regular schedule (starting today, that is); I have lots of yummy things ready to come your way in the next few weeks!


Also, in my absence, I missed a totally huge landmark--Gas Stove Girl surpassed 10,000 page views! I can't even believe it. I am so thankful for my readers, new and old, and I hope I can keep everyone coming back for more. Seriously, I love cooking, I love writing, and I love you guys. A great match made in heaven!


The recipe I have to share with you today was a super fast and super tasty weeknight dinner that I needed to make in a flash. Stir fries are the perfect solution to that problem. The key is to cook everything quickly at a high temperature and use lots of great flavors and textures for a well-rounded plate.


This Pork Lo Mein is tangy and crunchy. I packed it with tons of veggies and finished it with a thick pan sauce that coats the noodles in tons of tasty goodness. Boneless pork was my protein of choice, but this would be great with chicken, steak, or shrimp. Take-out has nothing on this dish!


Cory and I are so obsessed with these baby corns. Whenever I make a stir fry, I make sure to pick up a can of these. They are crunchy and sweet and there's just nothing like them.


By the way, if you haven't stumbled upon these Chinese-style noodles in your supermarket, you need to find them! They live in the produce section along with wonton wrappers and egg roll wraps. They are so fun to cook with and cook up in 3 minutes (that's right...THREE!).


I practically inhaled this dinner. For something so flavorful, you'd never guess it took less than 30 minutes to make. And unlike take out, you know exactly what you're putting into this dinner. It's like Ramen noodles, all grown up!